
Welcome to the germination journey
Every towering oak, every fragrant lily, every rare alpine cushion plant began as a small, dry, apparently lifeless capsule of tissue. Inside that capsule waits a complete miniature plant — the embryo — folded around a packed lunch of stored energy, waiting for the precise combination of signals that says: *now is safe, now is the time*. This chapter is about learning to read and provide those signals. Once you understand the sequence of events a seed passes through, germination stops being a matter of luck and becomes a repeatable craft.
We will follow the seed step by step, from the moment it touches moisture to the instant the first true leaves unfurl. Along the way we will talk about real temperatures, real timescales and real species, so you can translate theory into what you do on your own windowsill or propagation bench.
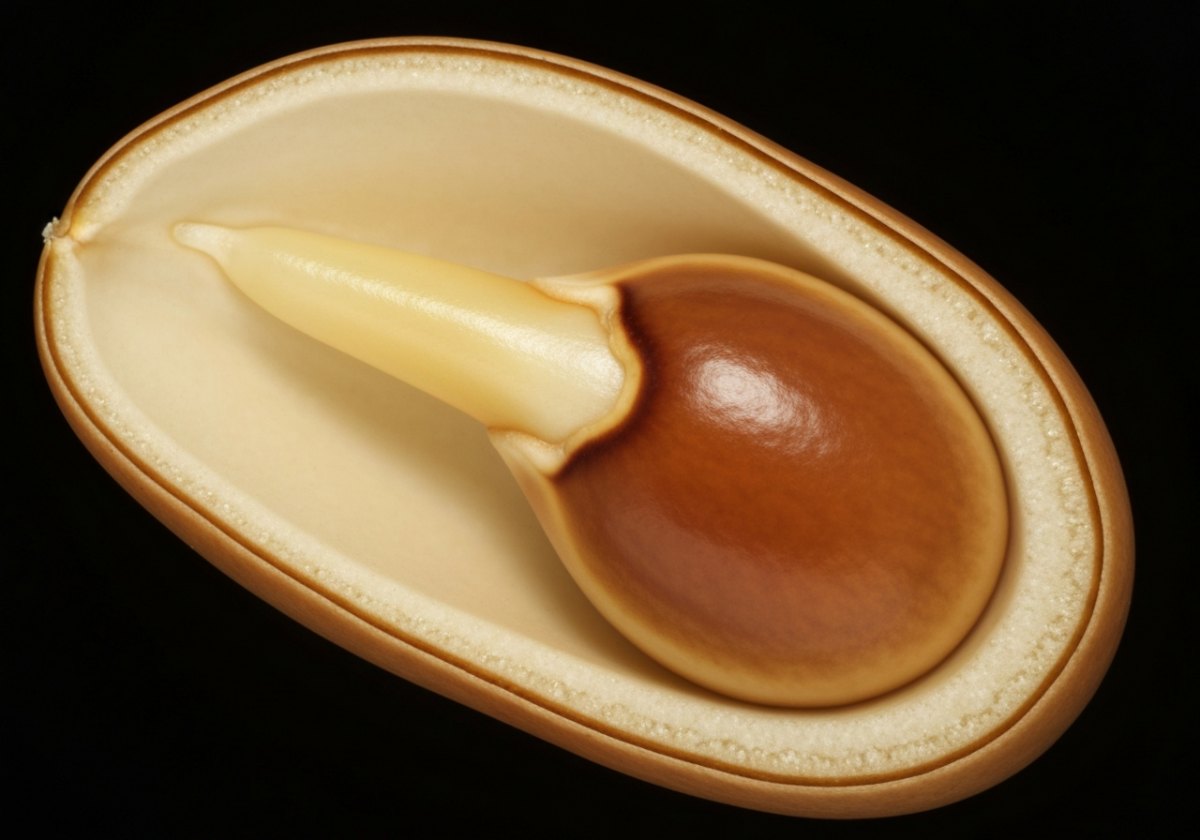
The four phases of germination
Physiologically, germination follows a well-studied curve of water uptake. It is helpful to think of it in four overlapping phases, because each phase has different requirements and different ways of going wrong.
- Imbibition — the dry seed rapidly absorbs water, often doubling in weight within 6–24 hours. Tissues swell, the coat softens, and dormant enzymes rehydrate. This is purely physical and happens even in a dead seed.
- Activation — over the next 1–3 days, rehydrated enzymes begin mobilising stored starch, oils and proteins. Respiration climbs sharply and the embryo starts consuming oxygen. No visible change yet, but the machinery is running.
- Radicle emergence — the true moment of germination. The embryonic root (radicle) breaks through the seed coat and turns downward. Depending on species this happens 3 days to several weeks after sowing.
- Establishment — the shoot emerges, the cotyledons expand, and the seedling switches from stored food to photosynthesis. Once the first true leaves open, the plant is self-sufficient.
What a seed is actually asking for
A seed will not proceed unless several environmental conditions are met together. Missing even one keeps it locked in place — which is exactly why so many rare seeds frustrate beginners. The core requirements are water, oxygen, temperature and (for some) light or darkness.
Water — enough, never drowning
The medium should be consistently moist, like a wrung-out sponge, never waterlogged. Saturated soil pushes out oxygen and the activating embryo — which is respiring hard — suffocates. This is the single most common cause of germination failure. Aim for a medium that darkens when you squeeze it but releases only a drop or two of water.
Oxygen — the forgotten ingredient
Because germination is a burst of respiration, the seed needs air around it. Use a light, open medium: a mix of 50% seed compost with 30% perlite and 20% fine vermiculite gives moisture retention plus air pockets. Compacted, dense soil or a permanently sealed dome with no ventilation starves seeds of oxygen just as effectively as flooding.
Temperature — the master switch
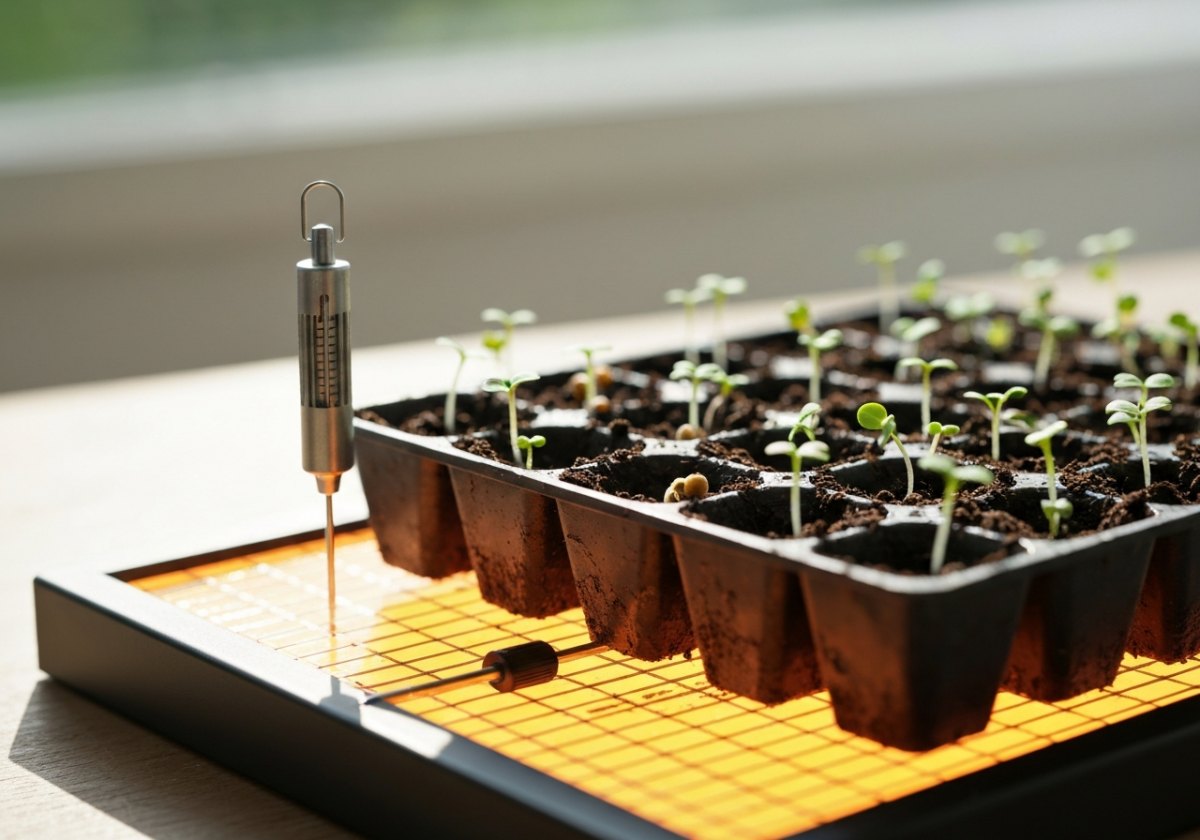
Each species has an optimal band. Most temperate vegetables and flowers germinate best at 18–24 °C. Warm-climate species such as chillies (Capsicum) and many tropicals want 26–30 °C — which is why a heat mat set to 27 °C dramatically improves them. Cool-season plants like lettuce, primula and many alpines actually germinate better at 10–16 °C and may stall above 25 °C. When results are poor, temperature is the first variable to check.
Light and darkness
Some seeds are light-sensitive. Tiny seeds such as Begonia, Digitalis (foxglove), lettuce and many Campanula need light to germinate — surface-sow them and do not cover. Others, like Delphinium, Phlox and Nigella, prefer darkness and should be covered to roughly their own thickness. A useful rule: sow at a depth of about two to three times the seed's diameter, unless the species specifically requires surface sowing.
When the seed says 'not yet' — dormancy
Many rare and wild seeds have built-in safety locks called dormancy, which stop them germinating at the wrong moment in their native climate. Understanding the type of dormancy tells you exactly what treatment to apply.
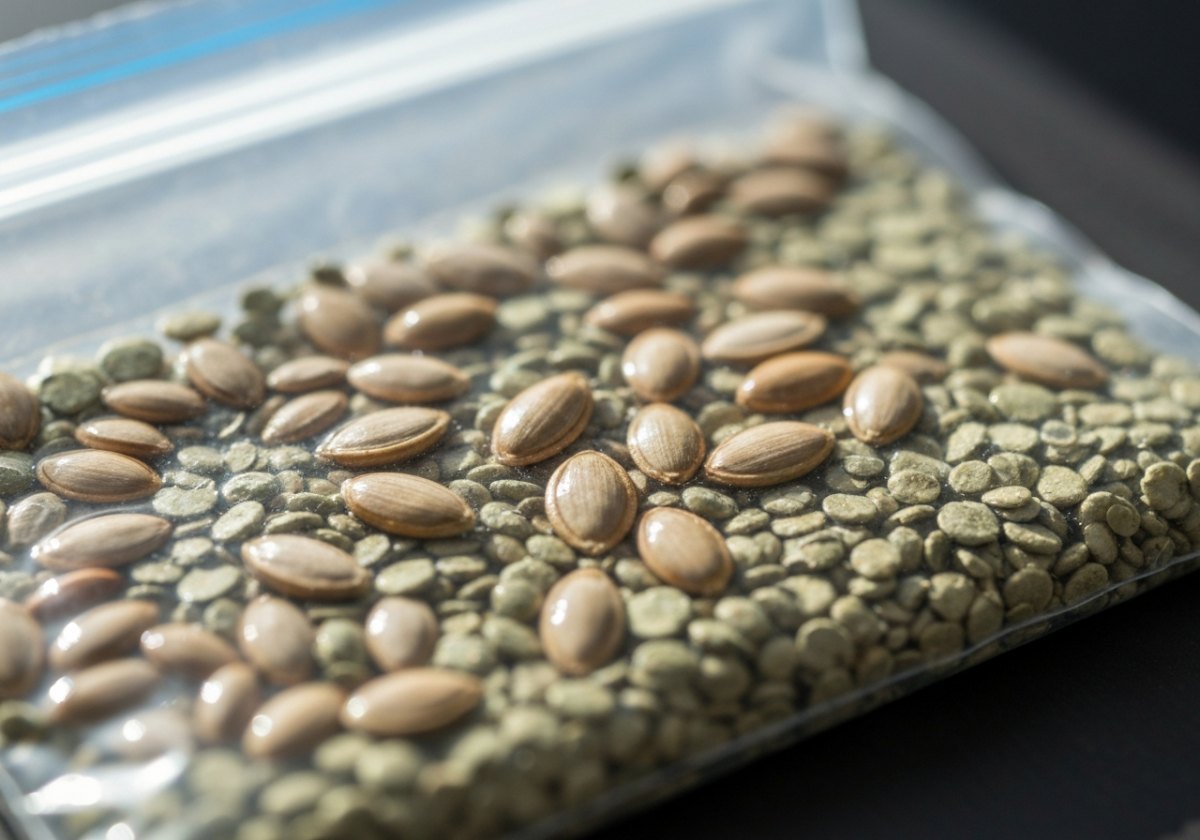
- Physical dormancy (hard coat): water cannot enter. Treated by *scarification* — nicking with a blade or rubbing with sandpaper. Common in Lupinus, Canna, Ipomoea, and many legumes.
- Physiological dormancy (chemical): the embryo needs a cold, moist period to break down germination inhibitors. Treated by *cold stratification* — for example 4–8 weeks at 3–5 °C in a fridge, in a bag of moist vermiculite. Common in apples, roses, many perennials and trees.
- Morphological dormancy: the embryo is immature at seed drop and must finish developing, which simply takes time and warmth. Common in Anemone and many umbellifers.
A practical germination workflow
Here is a reliable sequence you can adapt to almost any species. Always look up your specific plant first, but this structure rarely lets you down.
- Research the species: note its optimal temperature, light preference, sowing depth and any dormancy.
- Apply pre-treatment if needed — scarify hard coats, or stratify cold for 4–8 weeks.
- Prepare a light, sterile, moist medium in clean trays or pots.
- Sow at the correct depth (or surface); label with species and date immediately.
- Set the right temperature — heat mat for warm-lovers, a cool room for alpines.
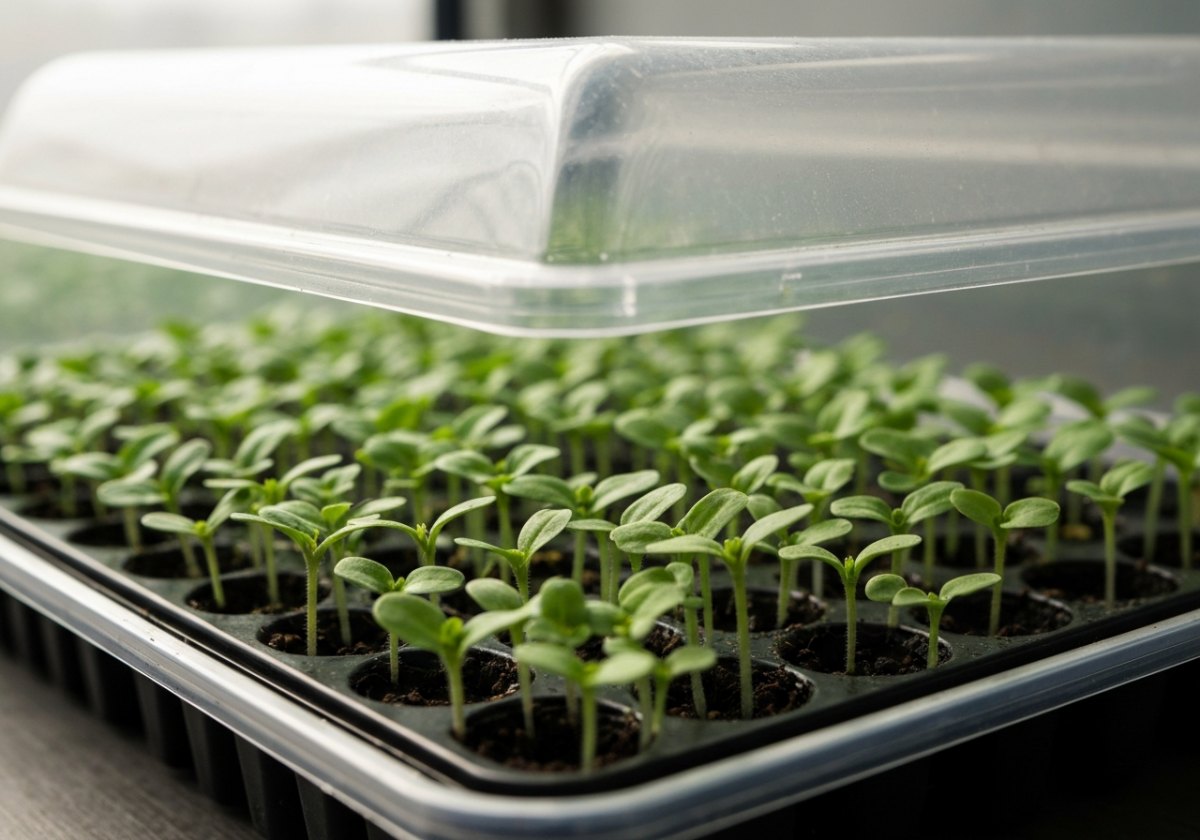
- Maintain moisture with a humidity dome or misting, but ventilate daily to supply oxygen and prevent mould.
- Provide light once shoots appear; remove the dome gradually to harden seedlings.
- Record what happened. Your notes become your most valuable germination tool.
The gardener who understands why a seed waits will never again be impatient with one that does.— Quinta dos Ouriques University
In the chapters ahead we will go deeper into each stage — scarification techniques, precise stratification schedules, sterile sowing media and troubleshooting damping-off. For now, hold onto the central idea of this chapter: germination is not a single event but a journey through phases, each with its own needs. Provide the right water, oxygen, temperature and light in the right order, respect the seed's dormancy, observe closely, and you give even the rarest seed its best possible chance to begin.