Why the moment of sowing matters
After weeks of preparing your seeds — cleaning, stratifying, scarifying or simply storing them well — the act of sowing feels almost anticlimactic. Yet this is the hinge on which everything turns. A seed placed at the wrong depth, in the wrong medium, or at the wrong temperature can sit inert for months while an identical seed a centimetre away thrives. Sowing is not a single action but a small sequence of decisions, and each one nudges the odds in your favour. In this chapter we walk through that sequence slowly, with the numbers you actually need.
Think of a seed as a tiny sealed capsule carrying an embryo and a lunch box of stored energy. Everything you do at sowing is about giving that embryo the three signals it waits for: water, oxygen and the correct temperature. Light is a fourth signal for some species. Get those right and the seed does the rest on its own.
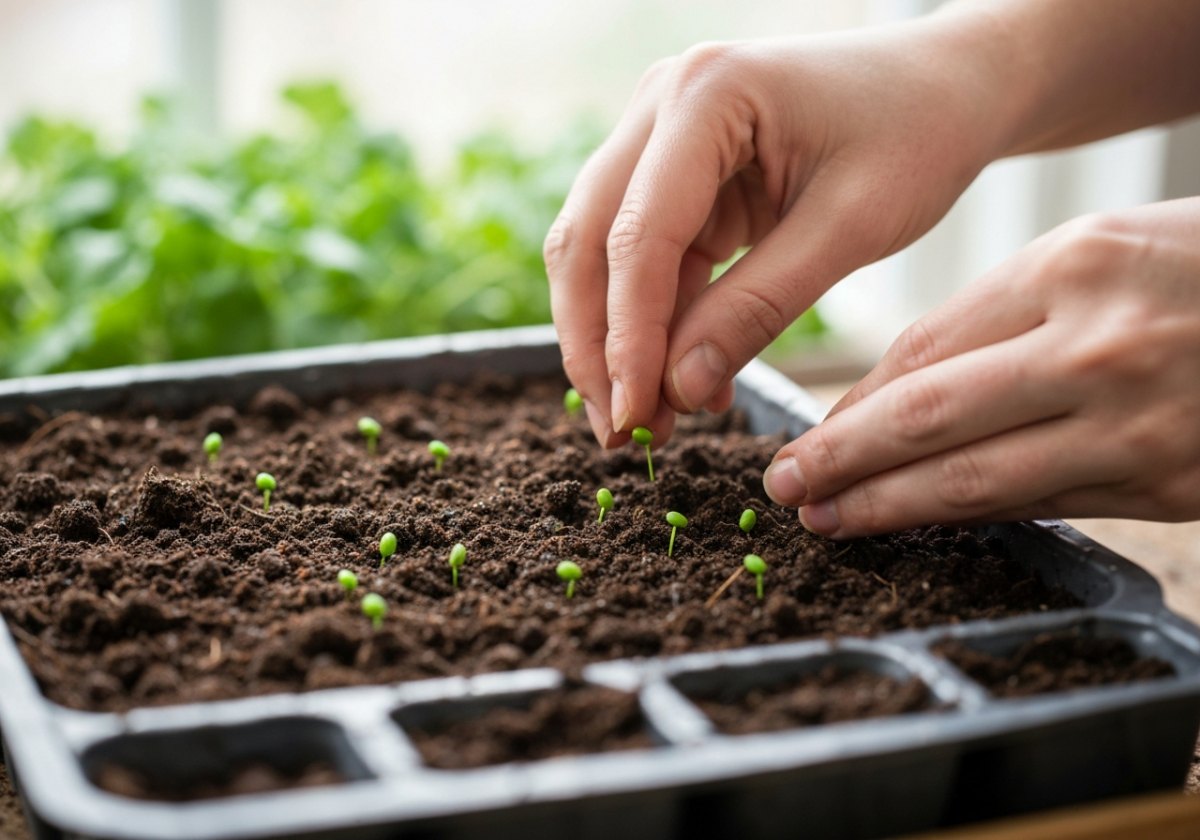
Step 1 — Prepare a clean, suitable medium
Garden soil is almost always the wrong choice for sowing. It compacts, drains poorly, and carries fungal spores and weed seeds. Instead use a light seed-starting mix. A reliable general blend is roughly 50% fine coir or peat-free compost, 25% perlite and 25% fine vermiculite. The mix should hold moisture without staying soggy — squeeze a handful and only a drop or two of water should appear.
- Moisten the mix in a bowl before filling containers, so you don't disturb seeds later with a heavy watering.
- Fill clean pots or trays and firm the surface gently with your fingers or a flat block, leaving about 1 cm below the rim.
- Level the surface — an even bed means even sowing depth, which means even germination.
- For fungus-prone species, top the surface with a thin 3–5 mm layer of pure fine vermiculite, which stays drier around the seedling neck.
Step 2 — Sow at the right depth
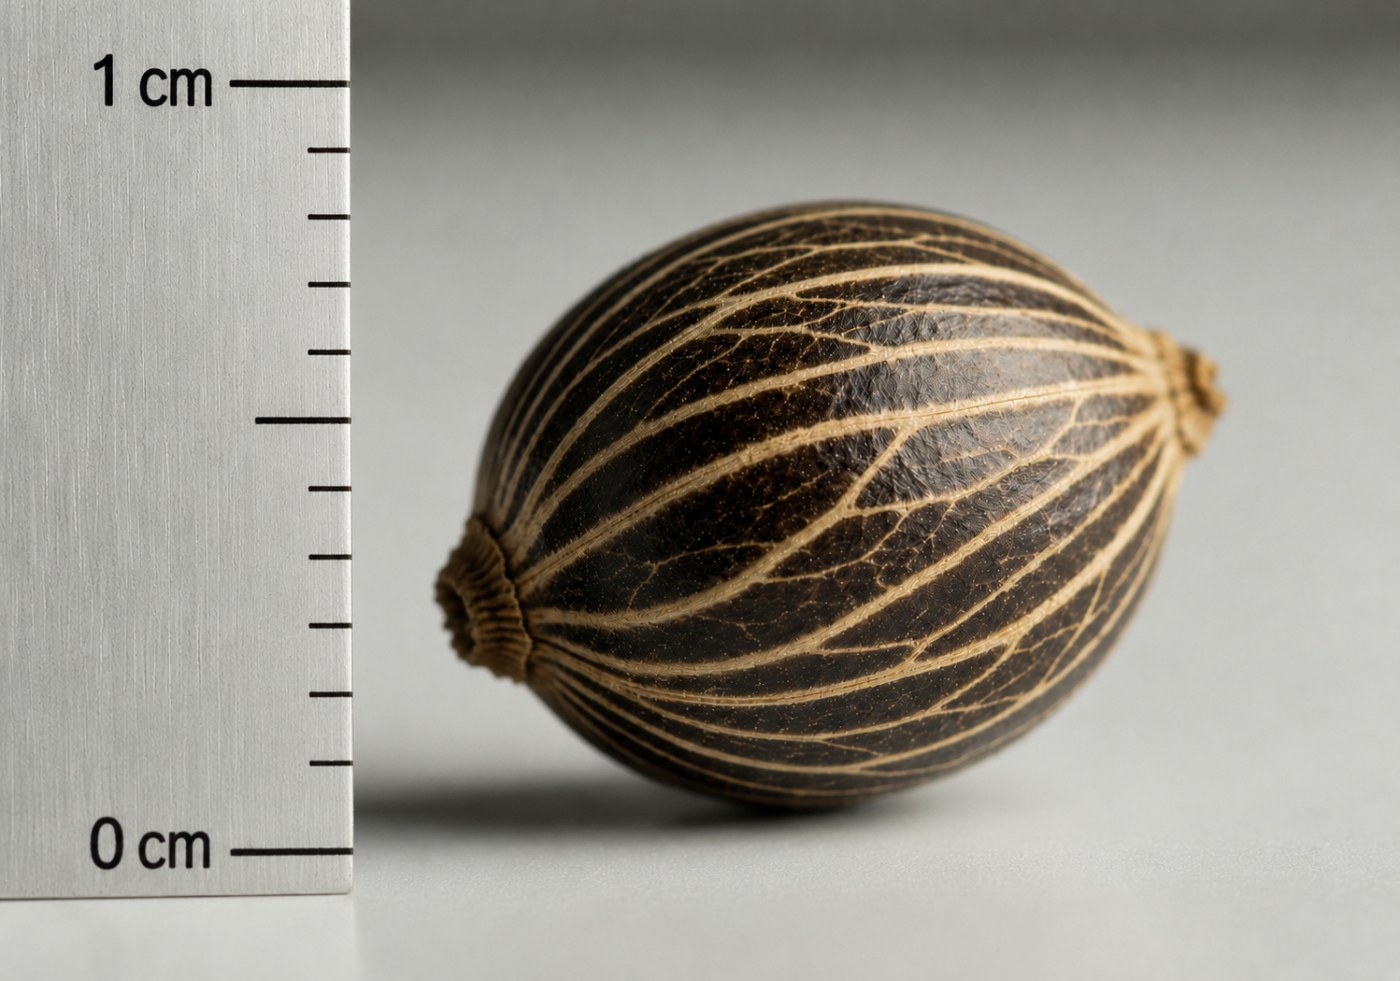
The old rule of thumb is to bury a seed two to three times its own diameter. It is a good starting point. A large bean 1 cm across goes about 2–3 cm deep; a poppy seed the size of a grain of dust is barely pressed onto the surface. Sowing too deep is the single most common reason home growers fail — the seedling exhausts its energy reserves before it reaches light and simply dies underground.
- Dust-fine seeds (Begonia, foxglove, many orchids): surface-sow, do not cover at all.
- Small seeds (lettuce, tomato, most alpines): cover with 3–5 mm of mix.
- Medium seeds (zinnia, chard): about 1 cm deep.
- Large seeds (beans, squash, oak acorns, Canna): 2–4 cm deep.
Step 3 — Handle light-dependent seeds correctly
Some seeds need light to germinate and will stay dormant if buried. These are typically the very small ones, whose seedlings could never fight up through soil anyway. Others are the opposite — they germinate only in darkness. When in doubt, a shallow surface sowing with a light dusting of vermiculite is a safe compromise that satisfies most species.
- Need light — surface sow: lettuce, Begonia, snapdragon, foxglove, columbine, many Petunia.
- Need darkness — cover fully: Phlox, Nigella, Delphinium, calendula, cyclamen, viola.
Step 4 — Space and label
Crowded seedlings compete for light and become leggy, and touching leaves stay damp and invite disease. Sow thinly: for a standard 6 cm cell, two or three seeds is plenty, thinned later to the strongest one. For open trays, aim to keep seeds at least 1–2 cm apart. And label everything immediately — rare seedlings are notoriously hard to tell apart, and memory is unreliable three weeks and forty pots later. Write the species and the sowing date in pencil, which does not fade like many inks.
Step 5 — Water gently and maintain humidity
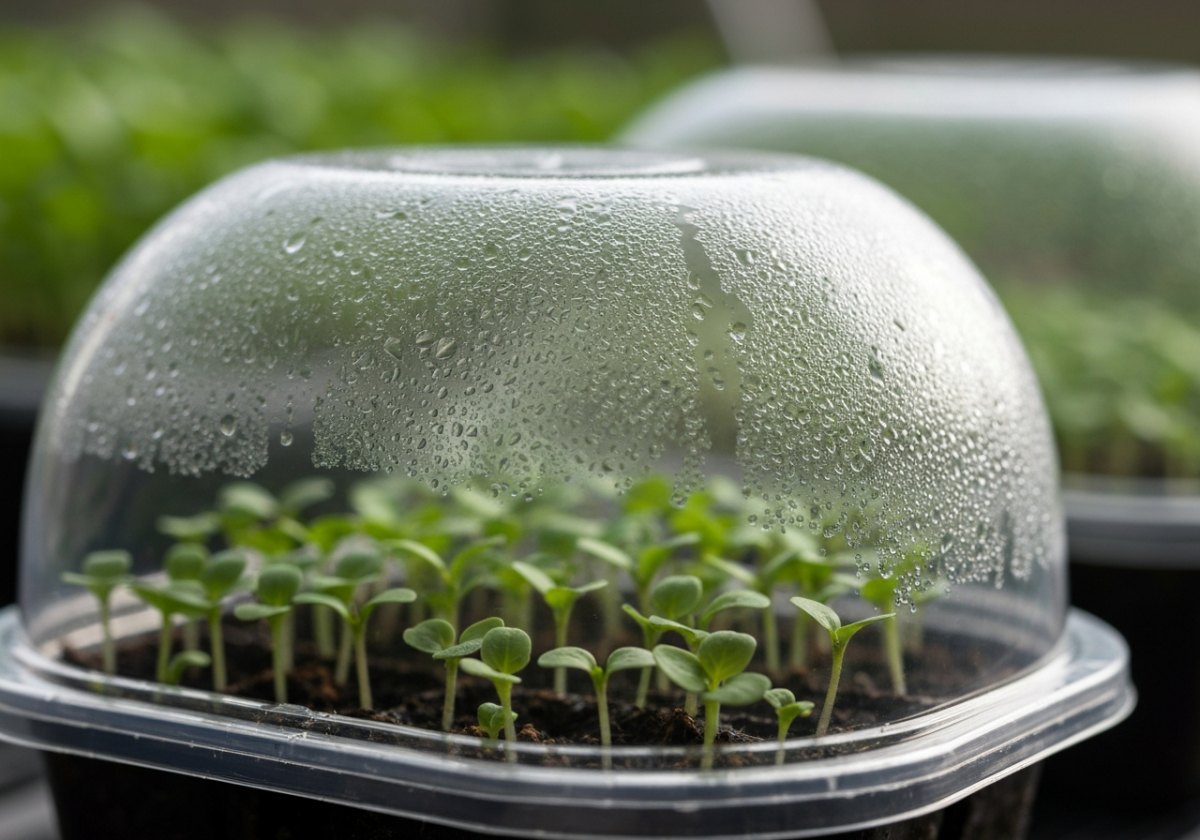
Because you pre-moistened the mix, the first watering should be light. A fine mister or bottom-watering (standing the tray in 1–2 cm of water until the surface darkens, then removing it) avoids blasting seeds out of place or burying surface-sown ones. From here the goal is constant, gentle moisture — never a swamp, never bone dry. Covering the tray with a clear lid or a loose plastic bag holds humidity near 90–100% and reduces how often you must water.
Step 6 — Give the correct temperature
Temperature is the master switch. Most temperate vegetables and flowers germinate best at a steady 18–24 °C. Warmth-lovers such as peppers, tomatoes, and many tropical species prefer 24–28 °C, and a heat mat set under the tray makes a real difference in cool homes. Cool-season and alpine species often prefer 10–15 °C, and some seeds germinate best with a day–night swing of about 10 °C, which mimics natural spring conditions and can break shallow dormancy.
- Cool germinators (10–15 °C): lettuce, spinach, many alpines, primula.
- Standard (18–24 °C): most flowers, brassicas, tomatoes for germination.
- Warm (24–28 °C): peppers, aubergine, basil, Canna, many tropicals.
- Fluctuating (≈12 °C night / 22 °C day): species that need the alternating signal, such as some Primula and native perennials.
Step 7 — Watch, wait, and record
Germination times vary enormously: radish may show in 3–5 days, tomatoes in 6–10, many perennials in 3–6 weeks, and some tree and alpine seeds take months or germinate in a second spring. Patience is part of the craft. Keep a simple log — species, sowing date, depth, temperature, and the date the first seedling appears. Over a few seasons this notebook becomes more valuable than any published table, because it is calibrated to your own home and conditions.
The best gardeners are not the ones who never fail — they are the ones who write down what happened and adjust next time.— A common saying among seed growers
When the first green appears
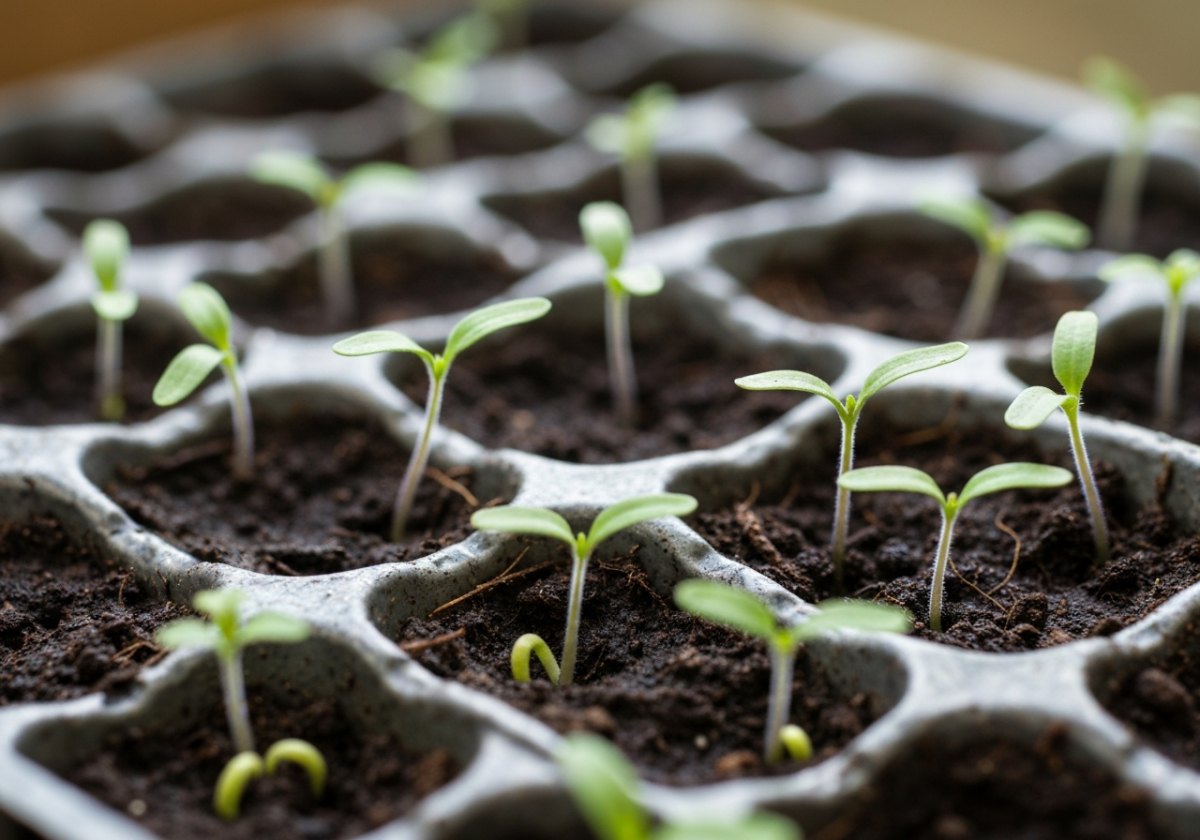
The moment you see cotyledons — the seed leaves — begin lifting the cover gradually and move the tray into bright light immediately. Seedlings that emerge in dim conditions stretch and topple within a day or two. Reduce humidity over several days so the young plants adapt to normal air, and keep the mix lightly moist. The delicate work of pricking out, feeding and hardening off follows in the next chapters, but you have crossed the most decisive threshold: a living plant where there was only a dormant capsule.
None of these steps promises a fixed outcome — every batch of seed and every windowsill is a little different, and even experienced botanists lose some sowings. What sound technique does is stack the odds firmly in your favour and, just as importantly, teach you exactly what to change when a sowing disappoints. Sow attentively, record honestly, and each round will make you a better grower than the last.