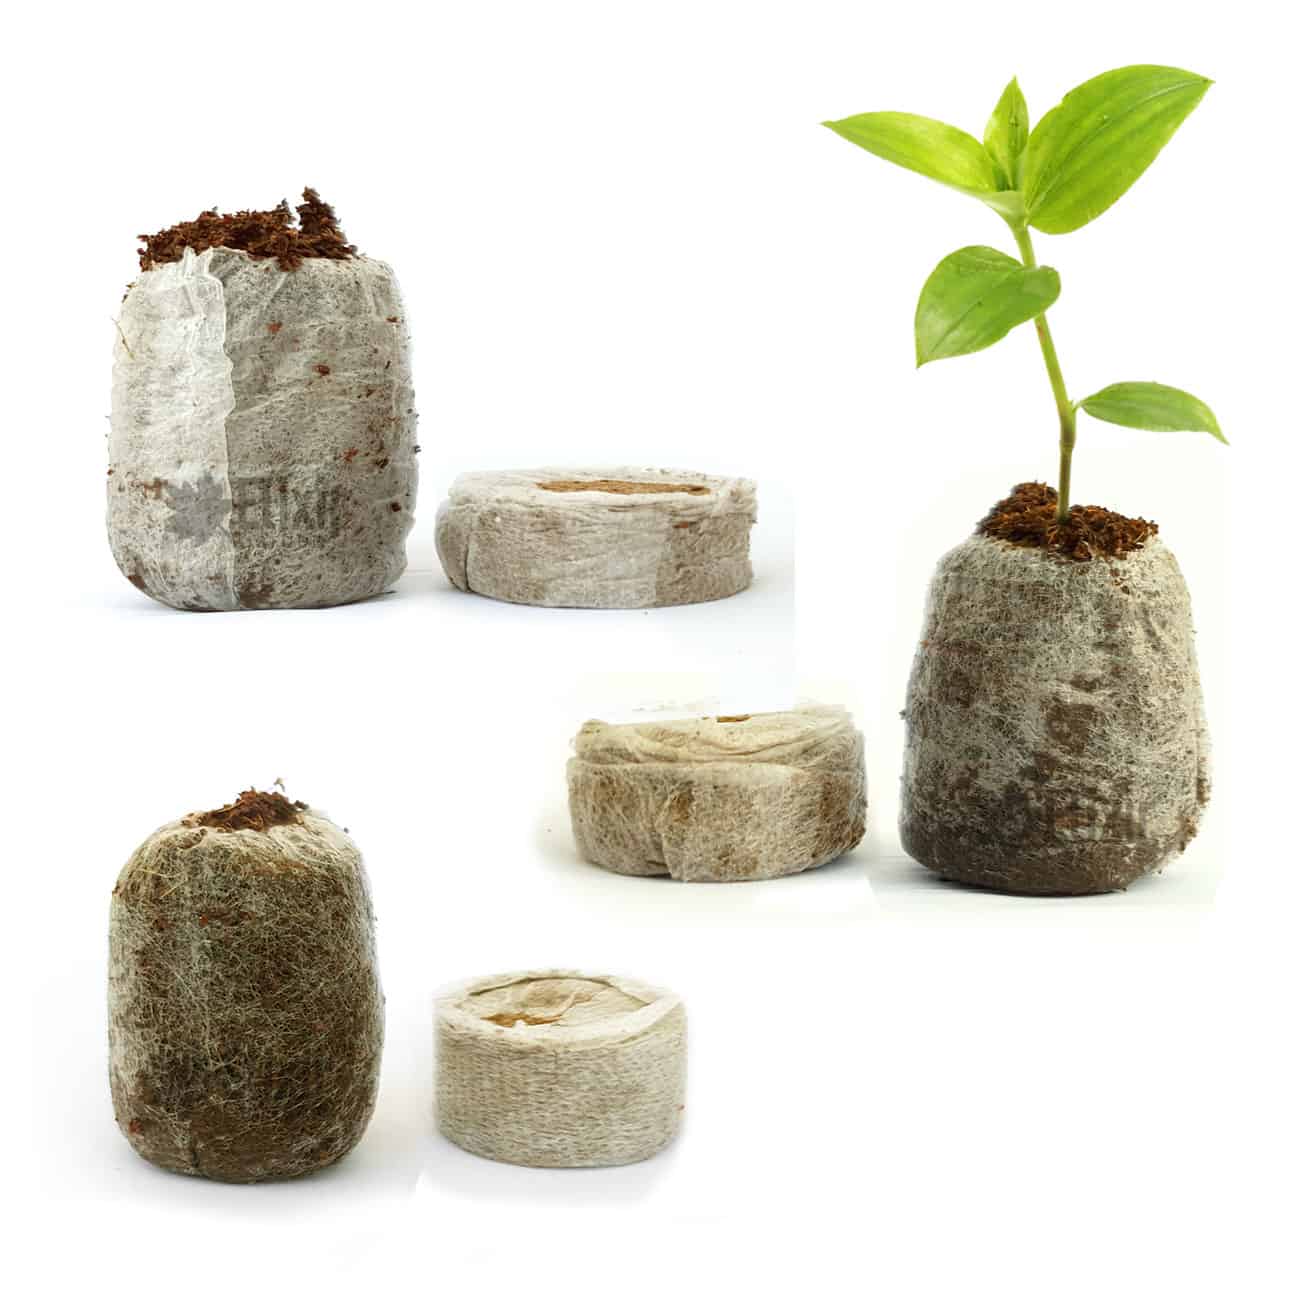
Why your setup matters more than your seeds
When a rare seed fails, it is tempting to blame the seed. In my experience across two decades of propagation, most losses trace back to something far more mundane: a contaminated tray, a pot that held stagnant water, or a knife that carried fungal spores from one batch to the next. Seeds arrive with their own energy reserves and their own defences, but a seedling is fragile, exposed and utterly dependent on the little world you build around it. This chapter is about building that world well.
Think of your sowing station as a small clinic. It does not need to be expensive or elaborate. It needs to be clean, organised and repeatable, so that when something works you can do it again, and when something fails you can find out why.
Choosing containers
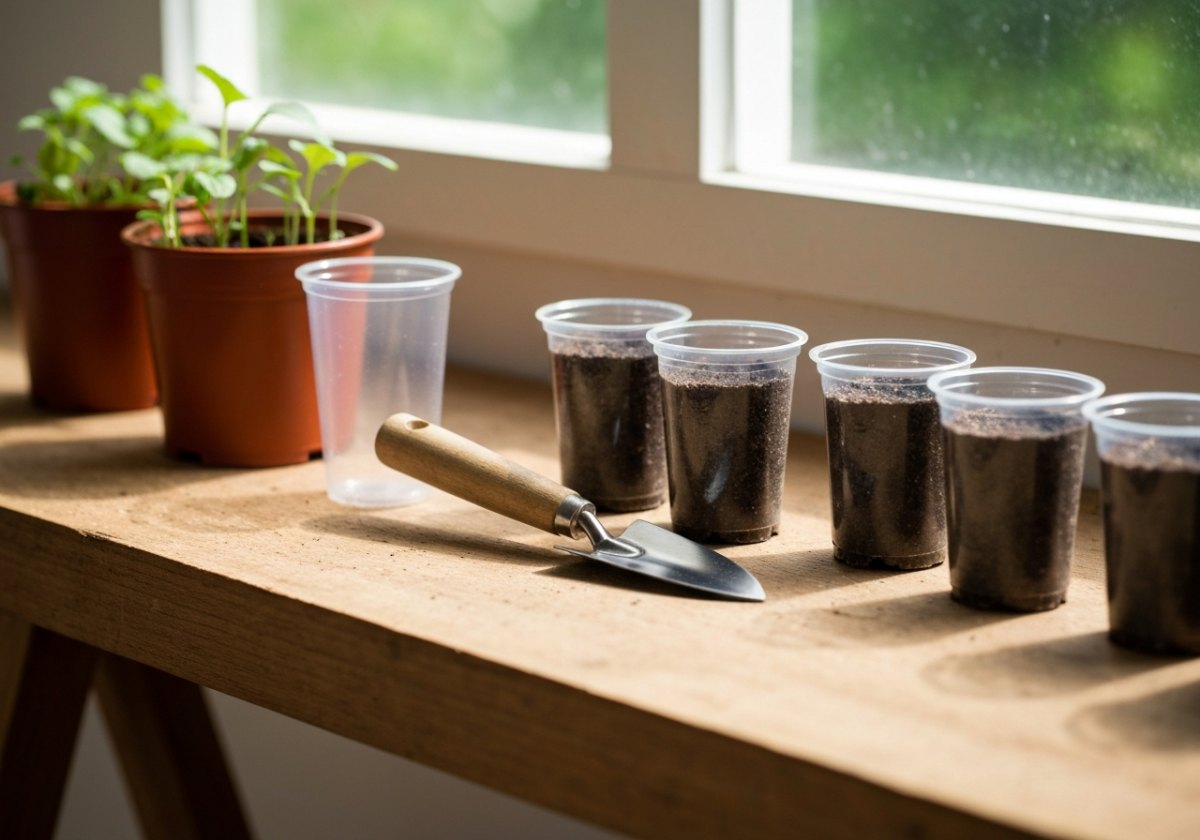
There is no single perfect container, only the right container for the seed size, the expected germination time, and how long the seedling will stay before transplanting. Here are the workhorses of a serious germination bench.
Common container types
- Standard seed trays (around 35 x 22 cm) with a clear dome. Ideal for many small seeds sown together, or fast crops. The dome holds humidity near 90–95% until sprouts appear.
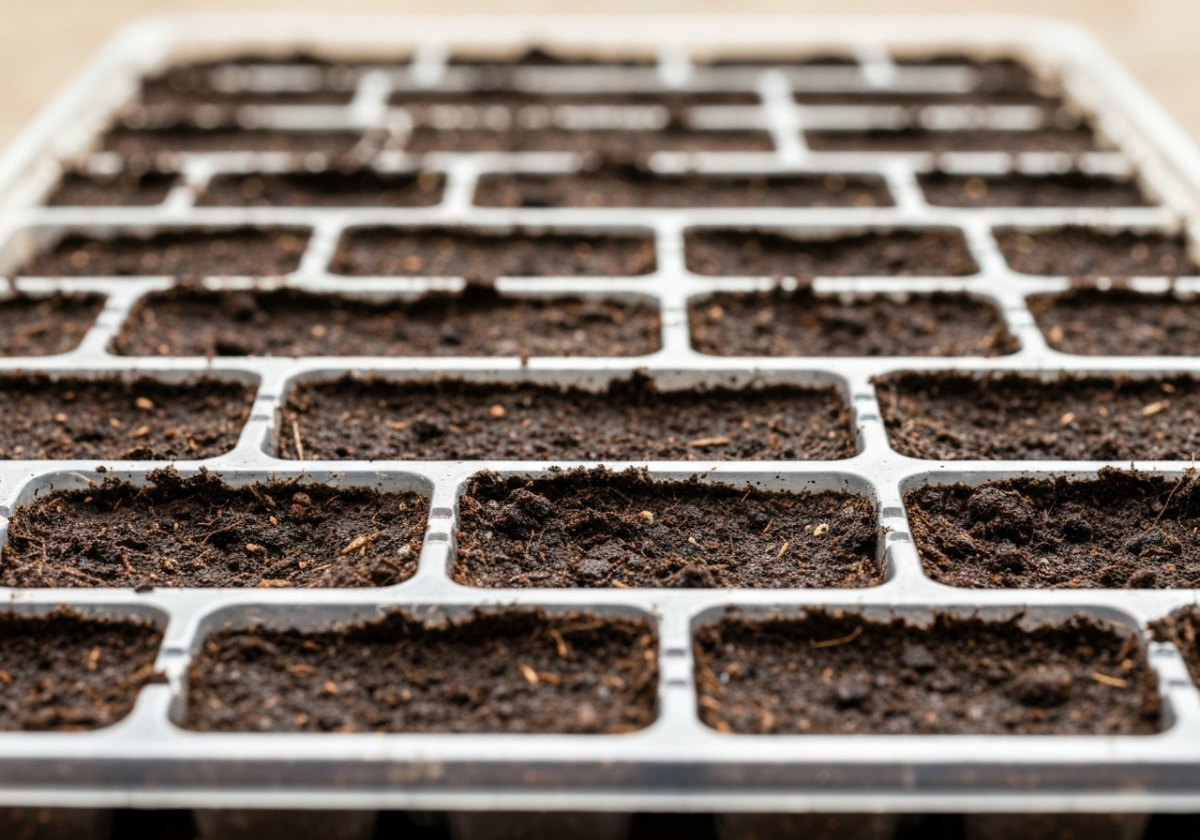
- Plug/cell trays (72, 128 or 200 cells). Each seedling gets its own root space, so you avoid disturbing roots at transplant. Perfect for medium collections.
- Individual pots, 5–9 cm. Best for larger seeds and species that resent root disturbance (many trees, legumes, some palms).
- Deep pots or 'rose pots' (10–15 cm tall). Essential for taproot species such as oaks, proteas and many desert plants, which send a root down fast.
- Recycled clear takeaway boxes. A superb cheap propagator for surface-sown dust seeds; the transparent lid lets light in and holds moisture.
Drainage is non-negotiable
Every container that holds compost must have drainage holes. Waterlogged medium starves roots of oxygen and invites the fungi that cause damping-off. If you repurpose a food container, drill or melt 4–6 holes of about 4 mm in the base. Stand pots on a tray you can empty, and never let them sit in more than a few millimetres of standing water for hours on end.
The tools worth owning
You can germinate seeds with your fingers and a spoon, and many people do. But a small, dedicated toolkit makes your work more precise and far more hygienic. None of this is costly.
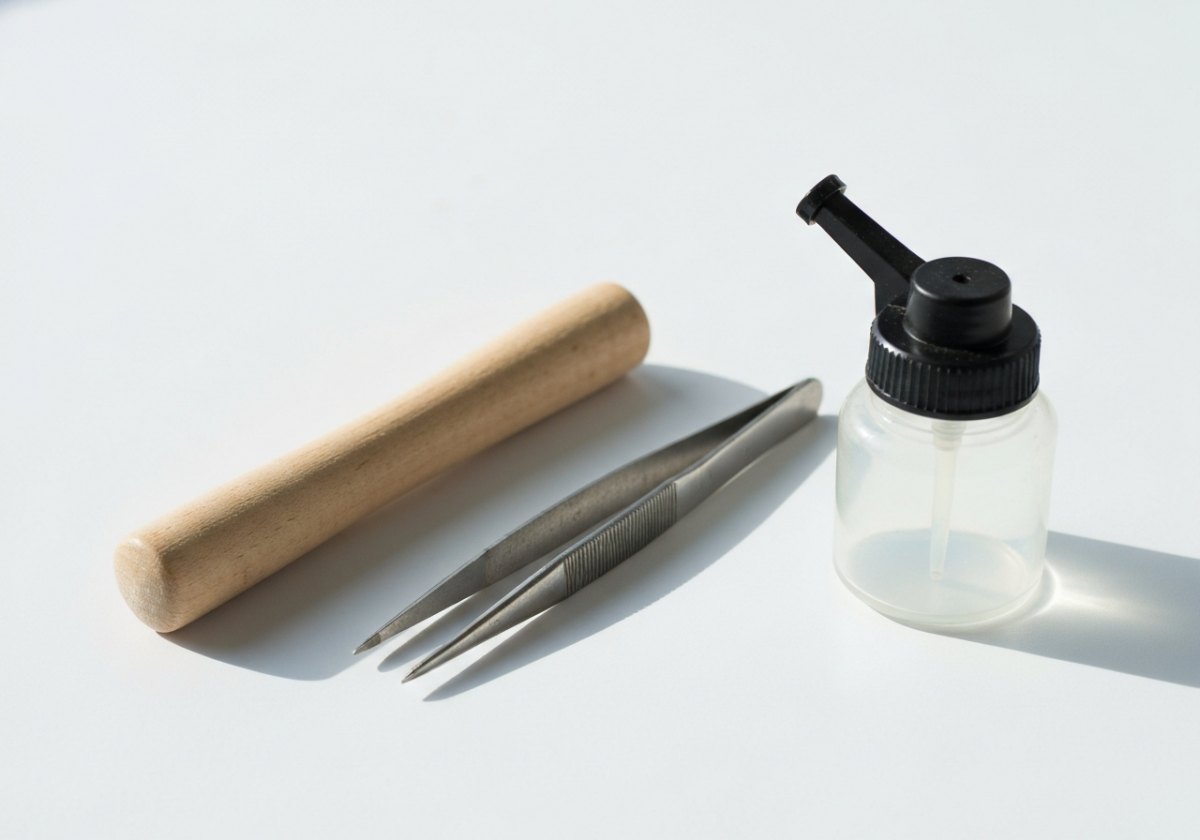
- A fine-tip dibber or a wooden skewer for making holes of an exact depth and for spacing tiny seeds.
- Fine-point tweezers for placing dust-like seeds (begonias, orchids surrogates, many alpines) one at a time.
- A soft hand mister and a fine-rose watering can so you never blast seeds out of position.
- A sharp scalpel or craft knife plus fine sandpaper for scarification of hard-coated seeds.
- A soil sieve (5 mm mesh) to produce a fine covering layer over small seeds.
- A permanent marker and waterproof labels — the most underrated tool on this list.
- A spray bottle of diluted disinfectant for wiping down surfaces and tools between batches.
A genuinely clean setup
Hygiene is the difference between a bench that produces seedlings and one that produces mould. The enemy is damping-off — a collapse of seedlings at soil level caused by fungi such as Pythium and Rhizoctonia, which thrive in dirty, wet, poorly ventilated conditions. Prevention is almost entirely about your setup.
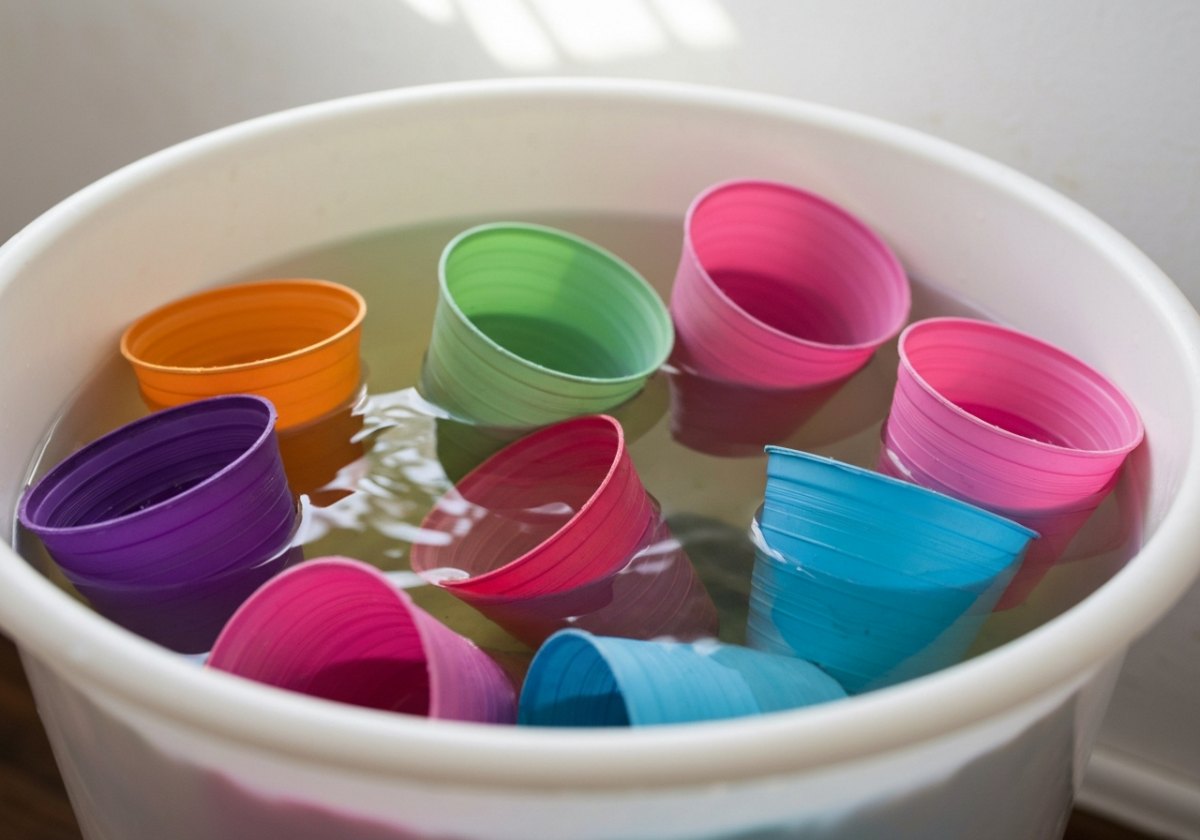
Cleaning containers before use
- Wash pots and trays in warm soapy water to remove all soil residue and old roots.
- Soak them for 10 minutes in a solution of 1 part household bleach to 9 parts water, or in a proprietary horticultural disinfectant.
- Rinse thoroughly in clean water and let them air-dry completely.
- Store the clean containers off the floor, ideally inside a closed box so they stay dust-free until you need them.
Clean medium, clean water, clean air
Use a fresh, sterile seed-sowing mix rather than garden soil, which carries weed seeds, pests and pathogens. A reliable general recipe is 2 parts fine peat-free compost, 1 part perlite and 1 part fine vermiculite; the perlite and vermiculite keep it open and airy while holding just enough moisture. For water, room-temperature (around 18–22°C) filtered or rested tap water is fine; very cold water can shock delicate roots. Finally, give your seedlings gentle air movement — a small fan on low, a metre away, for a few hours a day strengthens stems and dramatically reduces fungal problems.
Setting up a repeatable batch
Bringing it together, here is the workflow I use for every batch, whether it is ten seeds or a thousand. Repeat the same steps each time and your results become readable — you will learn what your conditions actually do, rather than guessing.
- Wipe the bench and disinfect your tools before you touch any seed.
- Fill clean containers with pre-moistened medium and level it, leaving 1 cm below the rim.
- Sow at the correct depth, water gently with a fine rose or mist, and cover if the species needs humidity.
- Label immediately with species and date, and note the target temperature.
- Place in the right conditions and record the date you expect first movement, so you know when to worry and when to wait.
A clean, well-equipped setup will not make a difficult seed easy, and no honest botanist would ever promise a certain outcome — germination depends on seed viability, dormancy and factors beyond our control. What a good setup does is remove the avoidable failures, so that when a seedling does emerge, it has every chance to thrive.
You cannot force a seed to grow, but you can remove every reason for it not to.— A gardening proverb worth keeping on the bench