The most fragile moment of a plant's life
The day a seed breaks the soil surface feels like a victory — and it is. But germination is not the finish line; it is the starting gun. In the first two to four weeks after emergence, a seedling has almost no reserves left, a root system barely a few centimetres deep, and stems so thin they can collapse from a single misstep in watering or light. This chapter is about protecting that window and turning a fragile sprout into a sturdy, transplantable plant.
Most seedling losses do not come from pests or disease — they come from too much water, too little light, and too much heat. The good news is that all three are entirely within your control. Let's walk through exactly what a young seedling needs, in the order it needs it.
Reading your seedling: cotyledons and true leaves
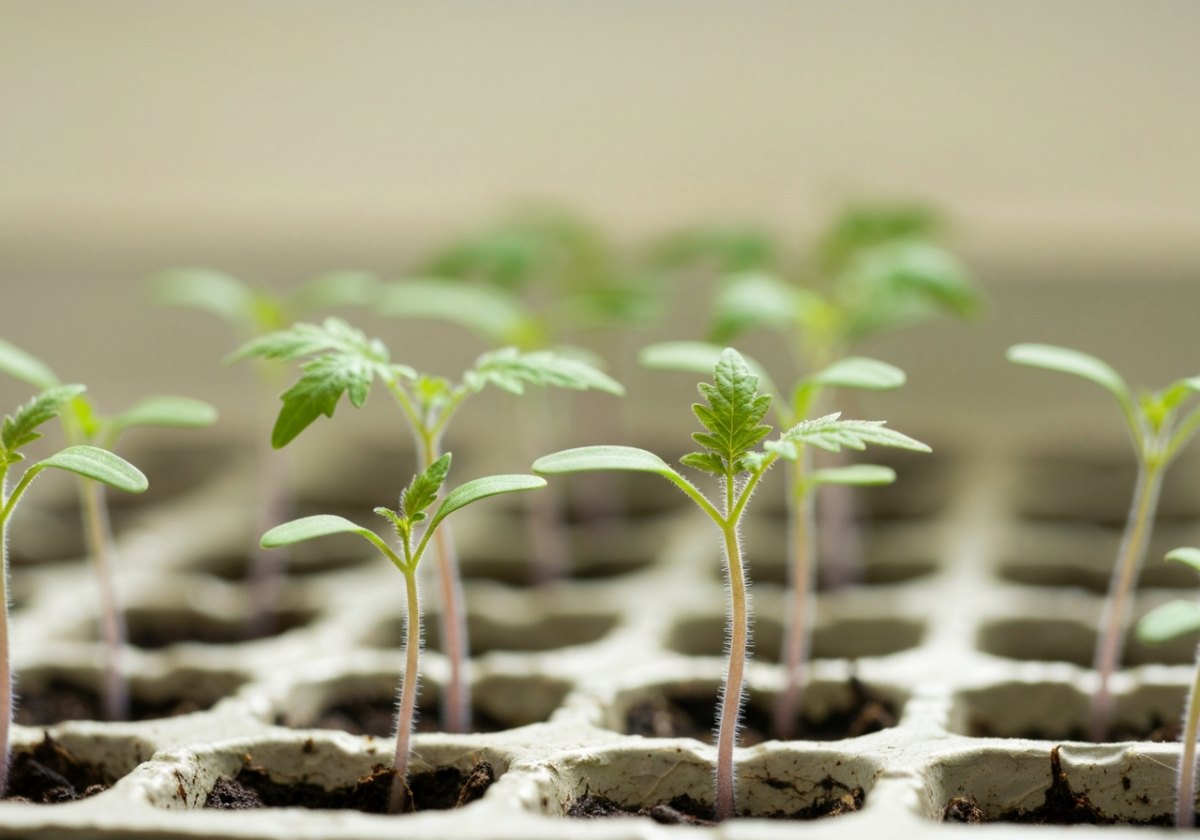
The first pair of leaves to open are the cotyledons — the seed leaves, stored inside the seed itself. They are usually simple, rounded, and look nothing like the adult foliage. Their job is to photosynthesise for a few days while the plant builds its first real leaves. Do not judge your species by them.
The next set — the true leaves — carry the characteristic shape of the plant. Their appearance is the single most important milestone after germination: it means the seedling has switched from living on stored energy to feeding itself. Many of the care changes below are timed to this moment.
Light: the number one cause of leggy seedlings
A seedling stretching tall, pale and thin toward a window is called etiolation — it is desperately reaching for light it isn't getting. A windowsill in winter often provides only 10–20% of what a seedling wants. The result is a weak stem that flops over and never fully recovers.
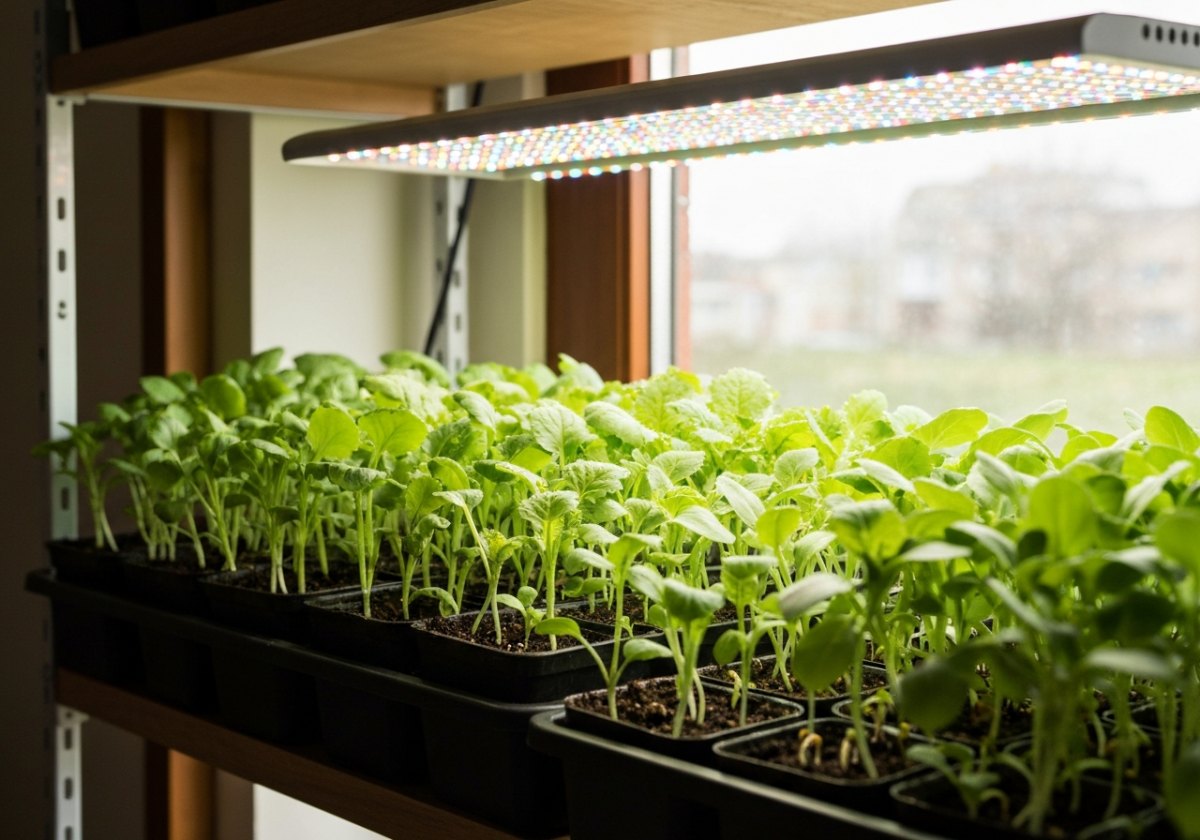
Aim to give seedlings 12–16 hours of bright light per day. If you use a grow light, keep it close: LED bars should sit roughly 5–10 cm above the tops of the seedlings, raised as they grow. If seedlings are on a windowsill, rotate the tray 180° every day so they don't bend permanently toward the glass.
Watering without drowning
Young roots need oxygen as much as water. Soil that is constantly saturated suffocates roots and invites fungal rot. The goal is a growing medium that is evenly moist, never soggy, and allowed to dry slightly at the surface between waterings.
- Water from below when possible: stand trays in 1–2 cm of water for 10–15 minutes, then remove them and let excess drain. This keeps foliage dry and roots hydrated.
- Check by weight: lift the tray. A light tray needs water; a heavy one does not.
- Use room-temperature water (around 18–22 °C). Cold water shocks warm-loving seedlings and slows growth.
- Never let a tray sit in standing water for hours — that is the fastest route to root rot.
Air movement and temperature
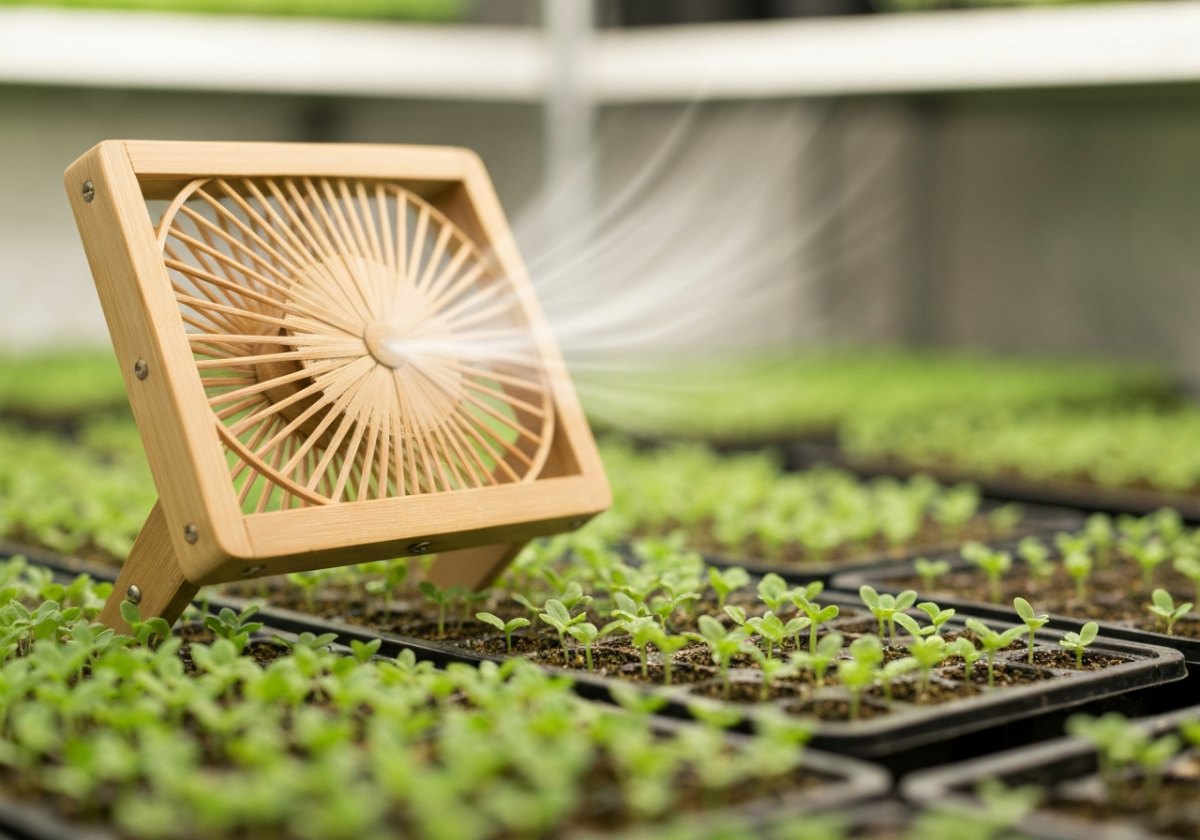
Still, humid air is the enemy. Gentle airflow strengthens stems (the slight flexing triggers thicker cell walls, exactly as wind does outdoors) and dries leaf surfaces so fungi cannot establish. A small fan set to its lowest speed, aimed near — not directly at — the seedlings for a few hours a day, makes a visible difference within a week.
Once seedlings have emerged, remove any humidity dome or cover. The high humidity that helped germination now works against you. Keep daytime temperatures around 18–22 °C for most species, dropping a few degrees at night, which mimics nature and discourages stretching.
Feeding: less than you think
Seedlings started in a proper seed-sowing mix need no feeding until the first true leaves appear, because the seed and the medium supply enough. Once one or two sets of true leaves are open, begin feeding with a balanced liquid fertiliser diluted to one-quarter of the label strength, once every one to two weeks. Weak and frequent always beats strong and rare — a full-strength dose can scorch tender roots.
Pricking out and potting on
When seedlings crowd each other or outgrow their cells — usually once they have two to four true leaves — it is time to move them to individual pots, a process called pricking out.
- Water the seedlings an hour beforehand so the medium holds together around the roots.
- Loosen from below with a dibber, pencil or lolly stick — never pull from the stem.
- Always hold the seedling by a cotyledon (a leaf you can afford to lose), never by the fragile stem, which crushes easily.
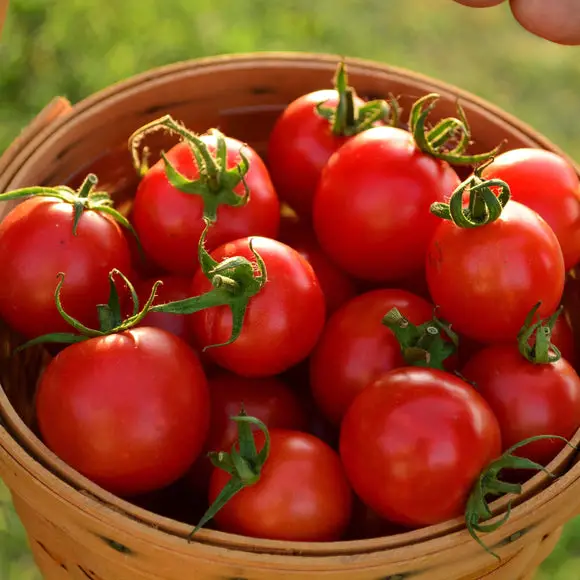
- Make a hole in fresh, lightly moist potting mix and lower the seedling in, burying it slightly deeper than before if the species tolerates it (tomatoes root along buried stems; many others do not — check first).
- Firm gently, water in from below, and keep out of direct sun for two to three days while roots settle.
Hardening off before the great outdoors
A seedling raised indoors has never felt real sun, wind or temperature swings. Moving it straight outside causes sunscald and shock — sometimes death within hours. Hardening off is a gradual, roughly 7–14 day acclimatisation.
- Day 1–2: place plants outside in full shade, sheltered from wind, for 1–2 hours, then bring them back in.
- Day 3–5: increase to 3–4 hours and introduce an hour of morning sun.
- Day 6–9: extend to most of the day, with more direct sun and gentle breeze.
- Day 10–14: leave them out overnight if temperatures stay above about 10 °C, then transplant.
- Skip or shorten any day with harsh sun, cold snaps or strong wind — patience here protects weeks of work.
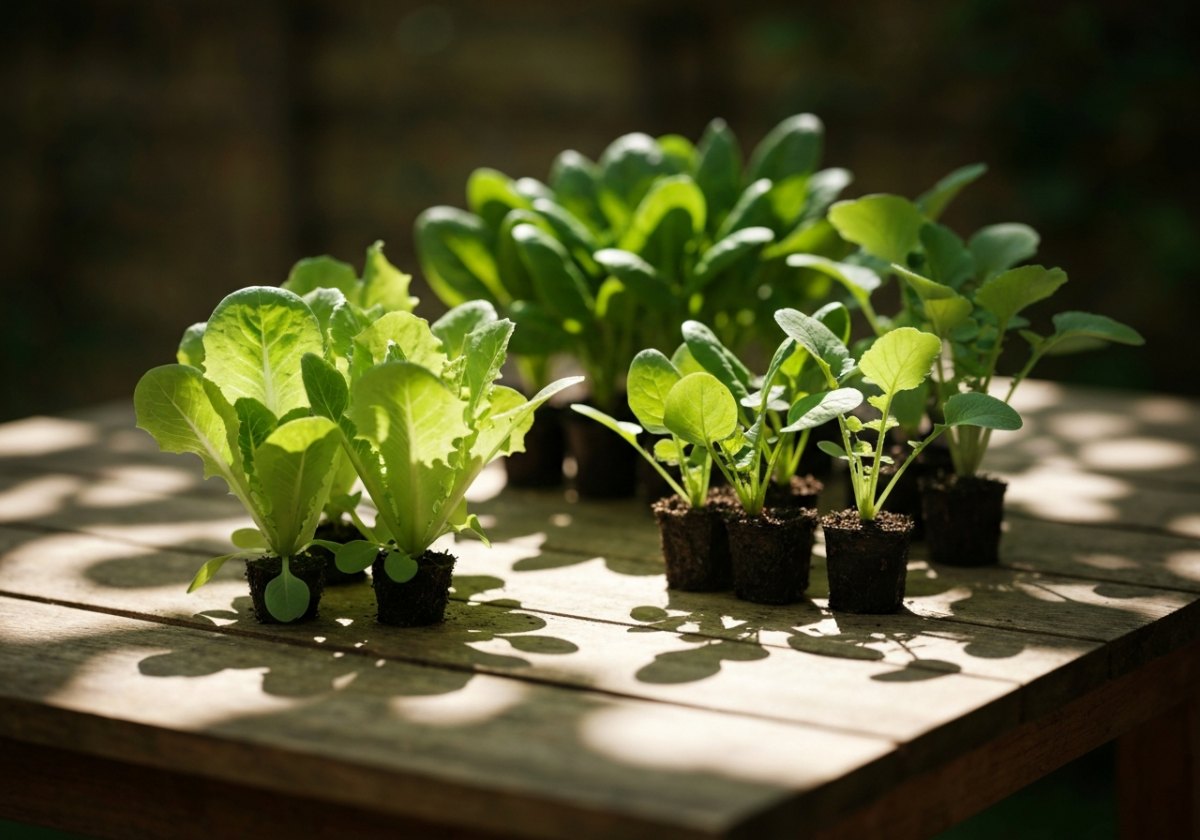
A quick troubleshooting guide
- Tall, pale, floppy stems → not enough light; too warm. Add light, lower temperature.
- Purple-tinged or stalled leaves → often cold roots or slight nutrient lack; warm the space and begin dilute feeding.
- White fuzz on soil, stems collapsing at the base → damping-off; improve airflow, reduce watering, discard affected seedlings.
- Yellowing lower leaves → usually overwatering; let the surface dry and water from below.
- Crispy leaf edges → light or fertiliser burn, or dry air; move the light back and dilute the feed.
Closing thoughts
Caring for seedlings is mostly the art of restraint: less water than instinct suggests, more light than a windowsill offers, and gentle air where you'd expect to want stillness. Give a young plant bright light, breathing room and a medium that dries slightly between drinks, and it will reward you with the thick stems and healthy roots that carry it through transplanting.
Growth cannot be rushed, but it can be sheltered. The gardener's real skill is knowing when to protect and when to step back.— Quinta dos Ouriques University