Why some seeds simply refuse to drink
Imagine soaking a seed for a week and finding it exactly as hard, dry and lifeless as the day you dropped it in the cup. This is the signature of physical dormancy — a seed coat so tightly sealed that water cannot penetrate it. Botanists call these seeds *hard-coated* or *water-impermeable*, and the condition is sometimes abbreviated PY (from 'physical dormancy'). It is one of the most common reasons rare seeds sit in a tray for months and never move.
The good news is that physical dormancy is also one of the most satisfying dormancies to break. Once you understand the mechanism, you hold the key literally in your hands. In this chapter we will look at what makes a coat hard, how to recognise it, and four reliable techniques to persuade water inside — scarification, hot water, acid and mechanical nicking — with concrete numbers for real species.
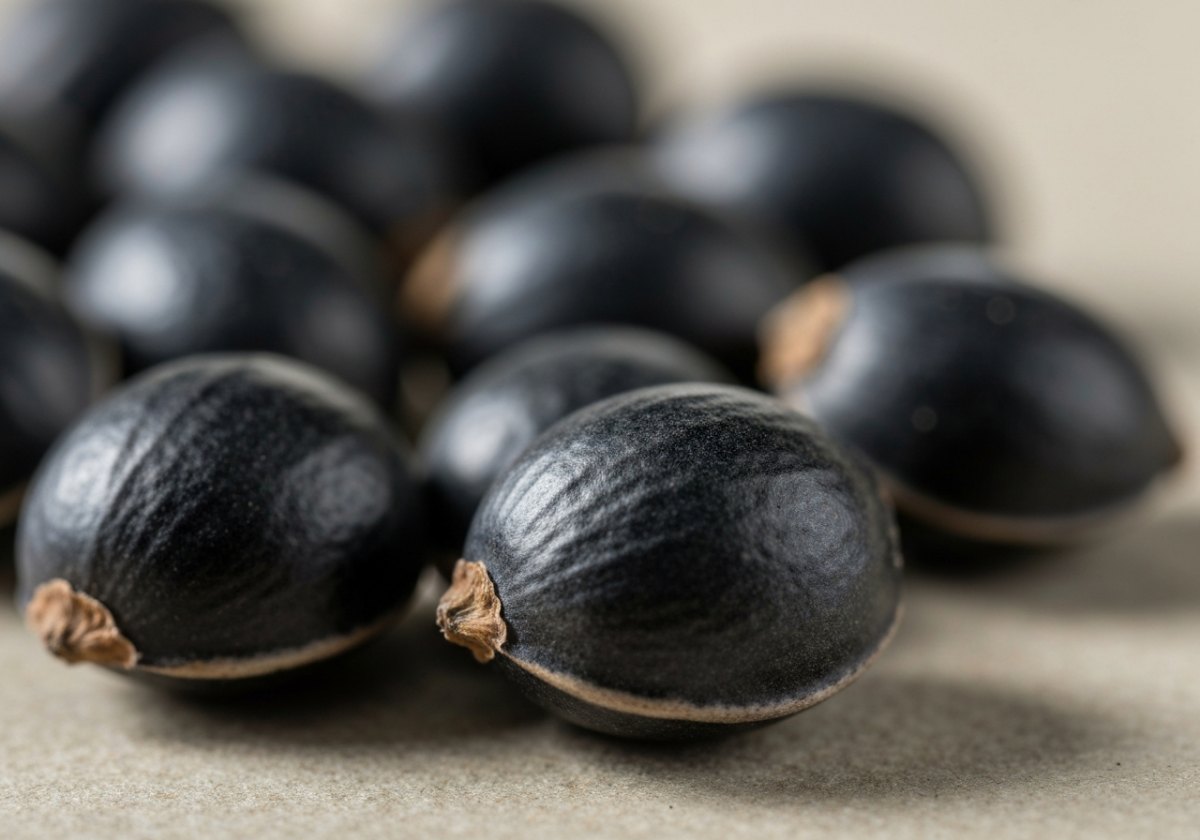
The mechanism: a coat built like armour
In physically dormant seeds the outer layer (the testa) contains one or more palisade layers of tightly packed, lignified and often waxed cells. Water is simply repelled or blocked. In many species there is a specialised anatomical valve — a small structure such as the *lens* (strophiolar plug) in legumes, or the micropyle — that must be physically disrupted before the seed can imbibe. Until that valve opens, the embryo inside stays perfectly viable but locked in time, sometimes for decades.
Physical dormancy is especially frequent in a handful of plant families. If your rare seed belongs to one of these, suspect a hard coat first:
- Fabaceae (legumes) — lupins, Acacia, Gleditsia, Sophora, sweet peas, many wild peas
- Malvaceae — Hibiscus, Abutilon, Malva, Gossypium (cotton)
- Cannaceae — Canna
- Geraniaceae — hardy Geranium, Pelargonium
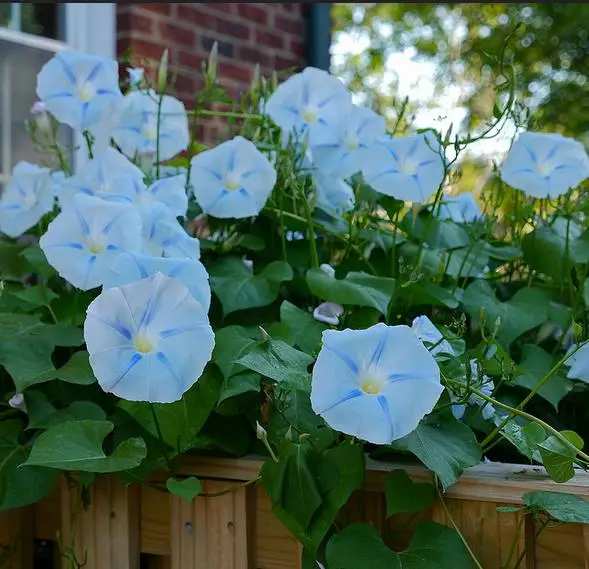
- Convolvulaceae — Ipomoea (morning glory)
- Cistaceae — Cistus, rock roses
- Nelumbonaceae — Nelumbo (sacred lotus), famous for seeds germinating after centuries
How to confirm you have a hard coat
Diagnosis before treatment saves you from destroying good seed. Run this simple 48-hour test on a small sample (5–10 seeds if you can spare them):
- Weigh or simply photograph the dry seeds and note their size.
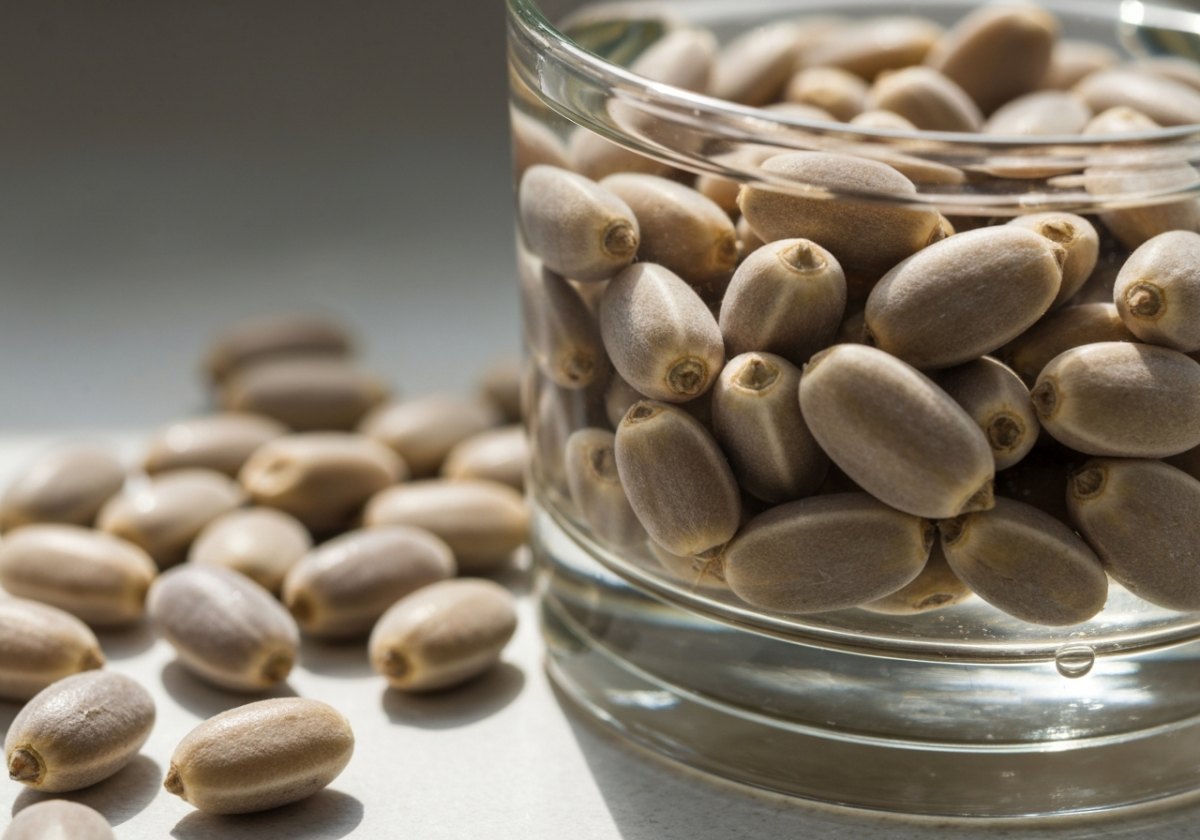
- Place them on damp paper towel or in a cup of room-temperature water (about 20 °C) for 24–48 hours.
- Check for swelling. Seeds that imbibe normally will swell noticeably — often 30–50% larger — and feel soft or wrinkled.
- Seeds that remain hard, unchanged and the same size are almost certainly physically dormant.
- Cut one dead-looking seed in half: a firm, white or cream, oily interior means a healthy embryo waiting behind a locked door, not a dead seed.
Technique 1 — Mechanical scarification (nicking and sanding)
The most controllable method is to physically breach the coat so water can enter. For medium to large seeds this is the safest choice because you control exactly how deep you go.
- Identify the seed's anatomy: locate the *hilum* (the scar where it attached to the pod) and the rounded body opposite. The embryo's radicle usually sits near the hilum, so damage the coat on the OPPOSITE side or on the flank.
- With a sharp craft knife, nick a small chip through the coat until you just see the paler tissue beneath — no deeper. A cut of 1–2 mm is enough.
- Alternatively, for small or numerous seeds, rub them between two sheets of medium (120–180 grit) sandpaper, or line a jar with sandpaper and shake for 30–60 seconds.
- For a few large seeds (Canna, Nelumbo, Gleditsia), file one spot with a metal nail file until the pale layer shows.
- Sow or soak immediately: correctly nicked seeds usually imbibe within a few hours and double in size overnight.
Technique 2 — Hot water soaking
Heat can crack the water valve open without touching a blade — ideal for small seeds you cannot easily nick, such as many Fabaceae. The principle is thermal shock to the strophiolar plug, not cooking the embryo.
- Heat water to roughly 80–90 °C — just below the boil (never a rolling boil for delicate species).
- Pour it over the seeds using about 3 parts water to 1 part seed so the temperature does not crash.
- Let it cool naturally and stand for 12–24 hours at room temperature.
- In the morning, remove and sow the seeds that have swollen. Repeat the treatment once on any that stayed hard.
- For tough Acacia and Gleditsia, many growers use near-boiling water (about 90 °C) and report good imbibition, while tender species like sweet peas do better at 60–70 °C.
Technique 3 — Acid scarification (advanced)
In nature, some hard seeds pass through animal digestive tracts where stomach acid etches the coat. Growers imitate this with concentrated sulphuric acid for species with exceptionally thick coats — for example certain Acacia, Rhus (sumac) and hard-coated palms. This method is powerful but genuinely hazardous.
Typical protocols immerse dry seeds in concentrated sulphuric acid for anywhere from 10 to 60 minutes depending on coat thickness, stirring gently, then draining and rinsing thoroughly under running water for several minutes. Because timing is species-specific and errors are unforgiving, only attempt this with proper training, a written protocol for your exact species, and full protective equipment.
Technique 4 — Warm-moist and dry after-ripening
For some species the coat softens naturally over weeks of warm, humid conditions — the way a seed would sit on warm summer soil. Storing seeds in a warm-moist medium (25–35 °C in barely damp vermiculite) for two to eight weeks can gradually loosen the strophiolar valve in certain legumes and Malvaceae. It is slower than nicking but gentler, and useful when you have many seeds and time to spare. Combining a brief warm-moist period with a light sanding often works better than either alone.
After the coat opens: sowing correctly
Breaking dormancy only unlocks the door — the seedling still needs the right conditions to walk through it.
- Sow treated, swollen seeds promptly; a breached coat also lets in fungi, so do not store scarified seed dry for long.
- Use a well-drained, sterile sowing mix and sow at a depth of about twice the seed's diameter — for a 5 mm Canna seed that is roughly 1 cm.
- Keep the medium warm and evenly moist, commonly 20–25 °C for most of the families listed here.
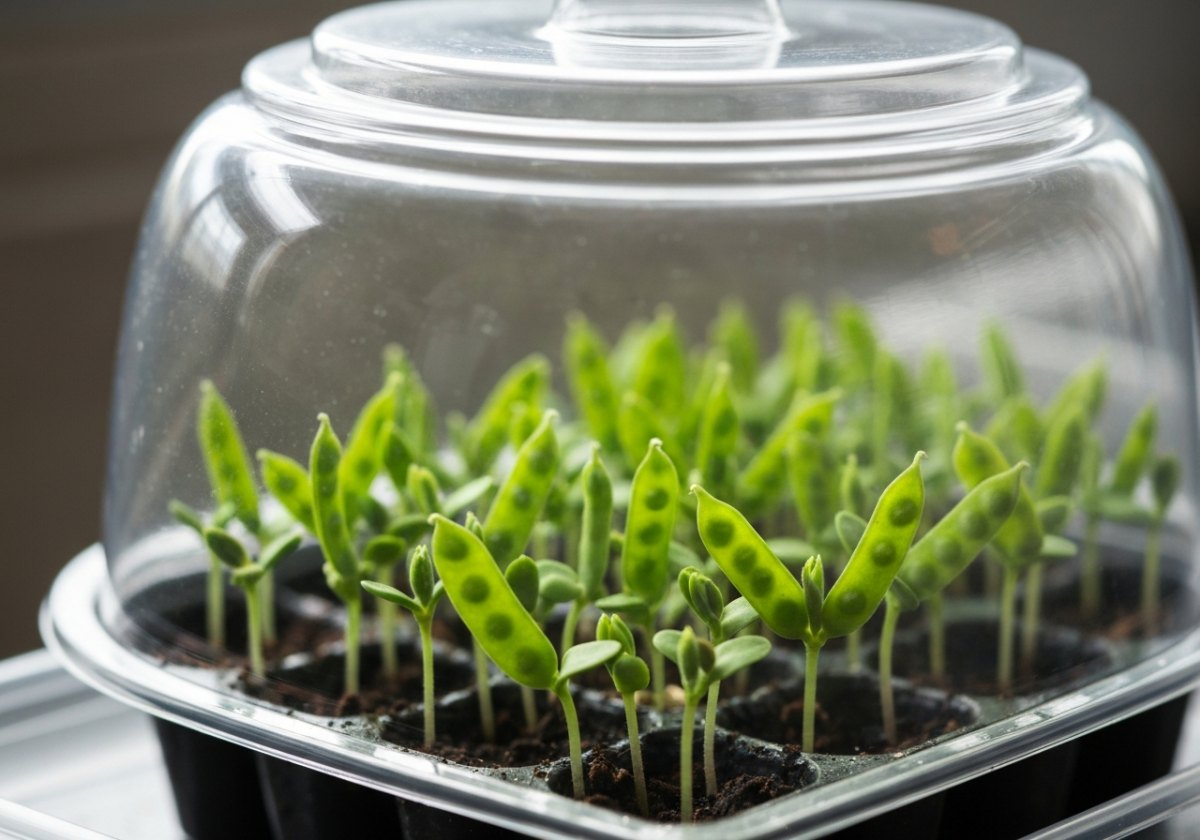
- A clear humidity dome helps maintain moisture; ventilate daily to reduce damping-off fungus.
- Expect radicle emergence within days to two weeks for most freshly scarified legumes and Canna; some woody species take longer.
Worked example: sacred lotus (Nelumbo nucifera)
Lotus seeds are the classic hard-coat challenge — some have germinated after more than a thousand years in storage. Their coat is stone-hard and completely waterproof. The reliable approach is mechanical: file or grind through the coat at the rounded end (away from the pointed embryo tip) until the cream tissue shows, then submerge the seeds in clean water at about 25 °C. Change the water daily. Treated seeds typically swell within a day and send out a shoot within one to two weeks, a genuinely dramatic transformation from an inert 'stone' to a living plant.
A hard coat is not a wall — it is a lock. Your job is simply to find the keyhole and let the water in.— Quinta dos Ouriques University
Closing thoughts
Physical dormancy rewards patience and observation more than force. Diagnose first with a soak test, choose the gentlest method that will work for your seed's size and toughness, always practise on a small batch, and sow promptly once the coat opens. Master these four techniques and a whole world of legumes, mallows, lotus and morning glories opens to you. In the next chapter we turn to a very different lock — physiological dormancy, where the barrier is chemical and hidden inside the embryo itself.