
Why Substrate Sterility Matters
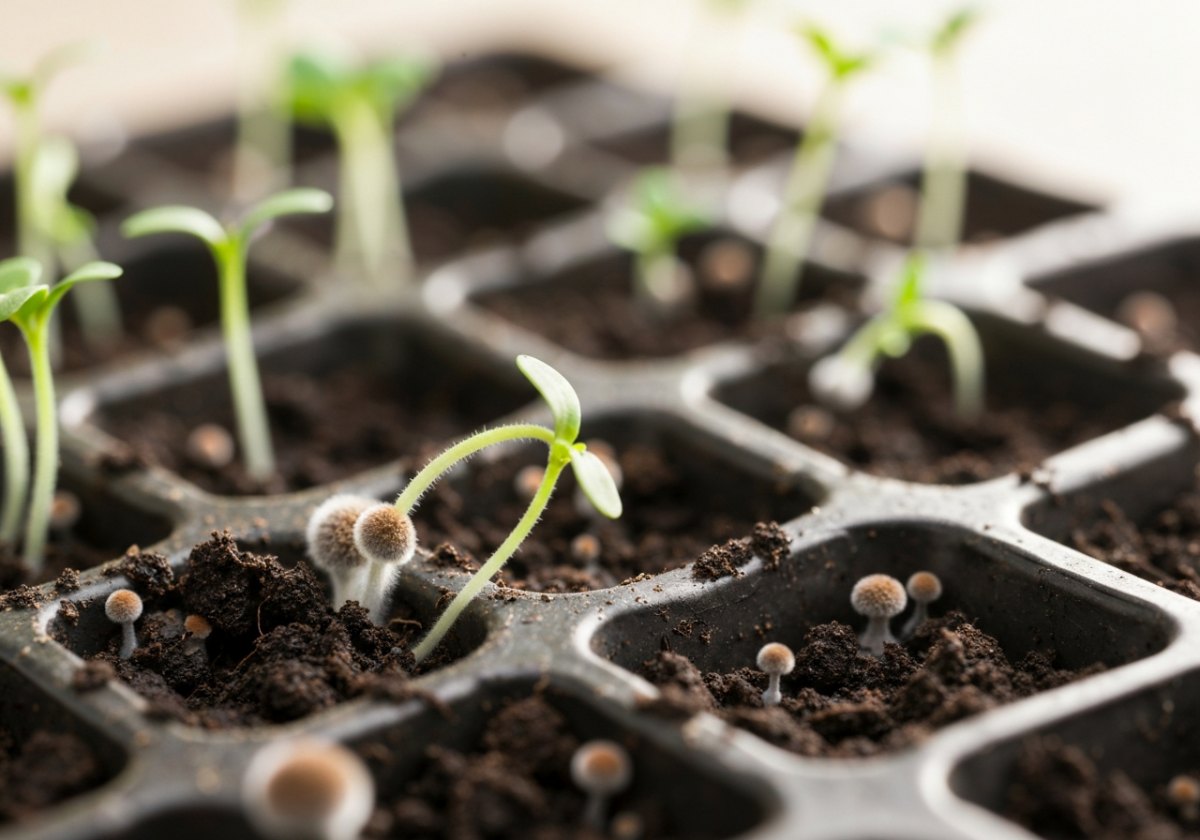
When you sow a rare seed — a *Lithops*, a Himalayan blue poppy, a cycad, or a slow-germinating protea — you are often working with a tiny number of precious, sometimes irreplaceable seeds. The single greatest cause of failure at this stage is not poor genetics or the wrong temperature: it is damping-off, a collapse caused by soil-borne fungi and water moulds such as *Pythium*, *Phytophthora*, *Rhizoctonia* and *Fusarium*. These organisms thrive in warm, moist, poorly ventilated conditions — exactly the conditions we create to germinate seeds.
A good germination substrate does three jobs at once: it holds moisture without becoming waterlogged, it lets air reach the emerging roots, and it carries the lowest possible load of pathogens and weed seeds. In this chapter we will build such a substrate from scratch, sterilise it properly, and store it so it stays clean until sowing day.
What Goes Into a Good Germination Mix
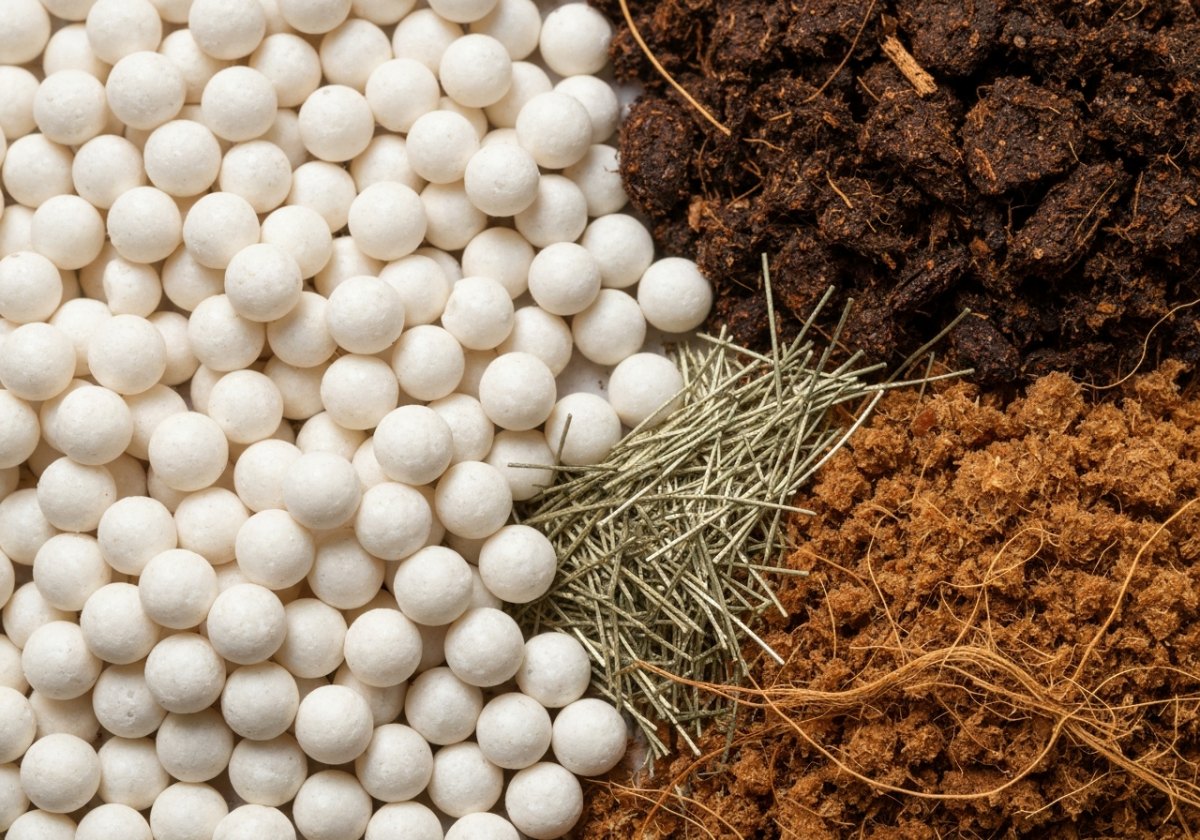
For germination we want a mix that is low in nutrients (seeds carry their own food reserves), well-draining, and physically stable. A reliable general-purpose recipe that suits most rare seeds is a blend of a moisture-holding base and inert drainage material.
- Fine coir or milled sphagnum peat (40%) — holds moisture evenly and resists compaction.
- Perlite (30%) — sterile volcanic glass that creates air pockets and improves drainage.
- Vermiculite (20%) — holds water and a little air; excellent for surface-sown fine seeds.
- Coarse silica sand or pumice (10%) — adds weight and sharp drainage, especially for cacti, succulents and alpines.
Adjust the ratio to the species. Cacti and *Lithops* prefer a mineral-heavy blend (up to 60–70% sand, pumice and perlite). Ferns, orchids and rainforest species prefer a higher coir or sphagnum fraction for constant moisture. Whatever the ratio, the same principle holds: it must drain freely and never sit soggy.
Method 1: Oven Sterilisation (Best for Small Batches)
Heat is the most reliable way to kill soil pathogens. The target is the internal soil temperature reaching 82–90 °C for 30 minutes. Going above 100 °C is counterproductive: excessive heat breaks down organic matter and releases toxic manganese and ammonia compounds that can harm seedlings.
- Moisten the mix so it is damp like a wrung-out sponge — moist soil transfers heat far more evenly than dry soil.
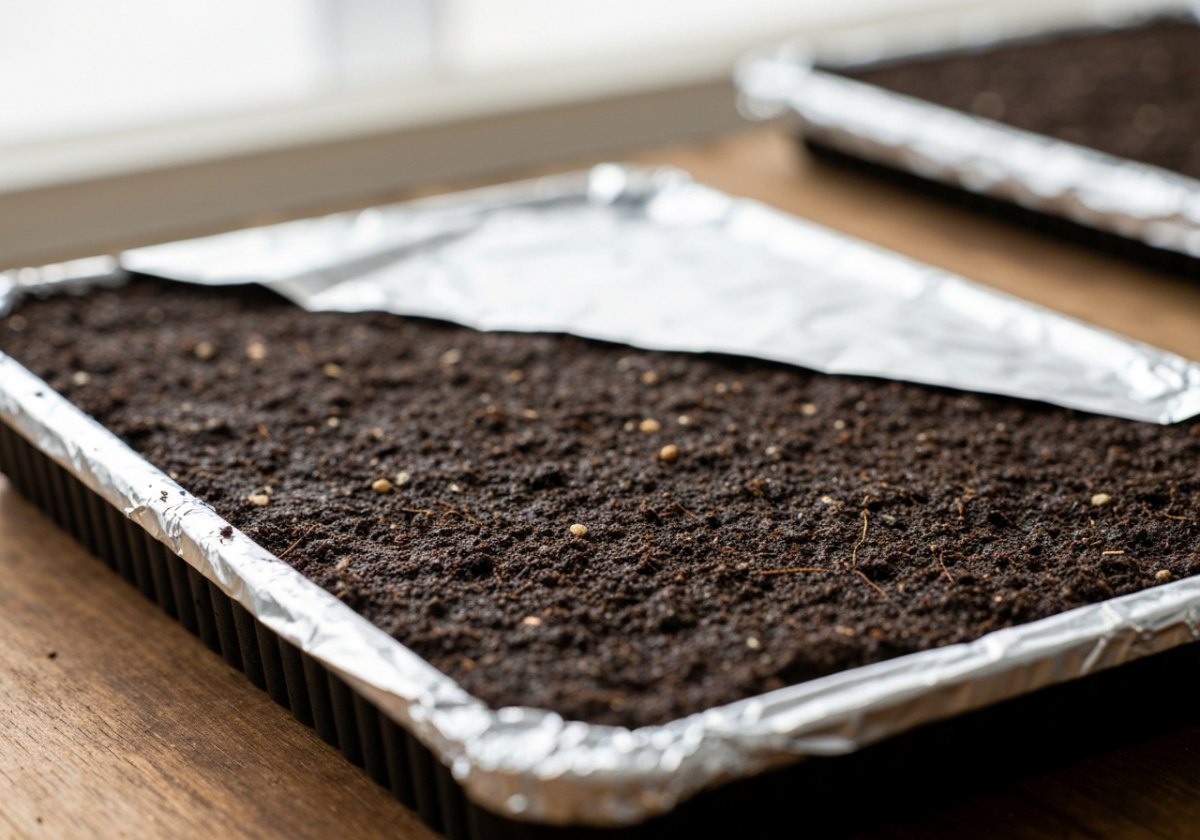
- Spread it in a metal tray no deeper than 8–10 cm, and cover with aluminium foil.
- Push an oven-safe or meat thermometer into the centre of the mix.
- Set the oven to 120 °C and bake until the centre reads 82 °C, then hold for 30 minutes. Do not let the centre exceed 90 °C.
- Turn off the oven, leave the tray covered, and let it cool completely before removing the foil.
Method 2: Microwave Sterilisation (Fast, Small Quantities)
For a litre or two of mix, the microwave is quick and effective. Place damp (not wet) substrate in a microwave-safe container, cover loosely, and heat on full power in 90-second bursts. Stir between bursts and check the temperature; aim for the same 82–90 °C target. Roughly 2 kg of moist mix reaches temperature after 4–6 minutes total in a 1000 W oven. Let it cool sealed before use.
Method 3: Steam and Boiling Water
Steaming is the professional standard because it heats without scorching. Place the mix in a colander over boiling water, cover, and steam for 30 minutes once the substrate reaches temperature. Alternatively, for small quantities, simply pour boiling water through the substrate several times — this is less thorough but useful for pasteurising a small pot of surface-sowing mix in minutes.
After Sterilising: Cooling, Rehydrating and Storing
Hot substrate is dangerous to seeds, and freshly sterilised substrate is a biological vacuum that will quickly be recolonised by whatever lands on it. Handle it cleanly.
- Cool the substrate to room temperature (below 25 °C) before sowing — check with your thermometer, not by touch.
- If it dried out during heating, rehydrate with previously boiled and cooled water, or distilled water.
- Work with clean hands and disinfected tools; wipe pots, trays and domes with 70% isopropyl alcohol or a 10% bleach solution, then rinse.
- Store any unused sterilised mix in a sealed, clean plastic bag or box, and use it within a few weeks.
Common Mistakes to Avoid
- Sowing while the mix is still warm — heat can damage or kill the embryo.
- Overheating — anything above 90 °C internal creates toxic breakdown products.
- Skipping the drainage fraction — a moisture-rich but airless mix invites *Pythium*.
- Reusing old, un-sterilised substrate between sowings — it carries accumulated spores.
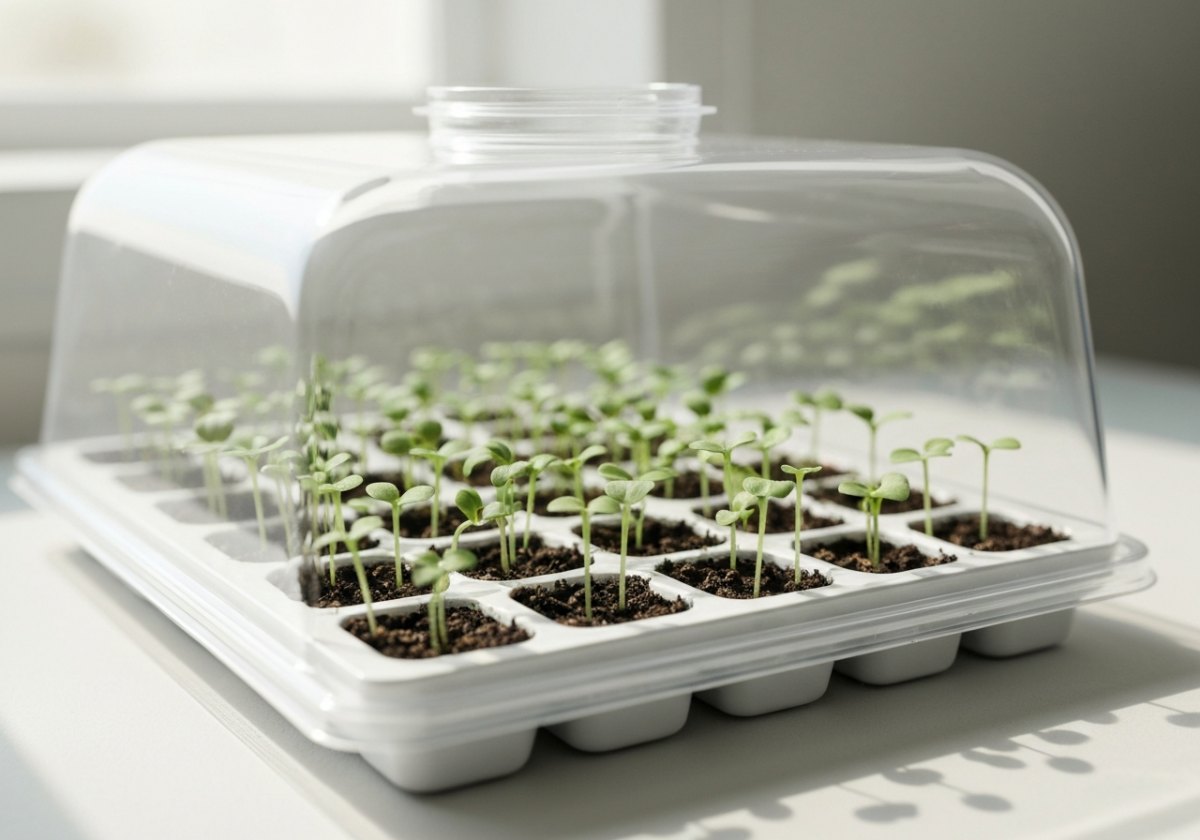
- Watering with tap water in a warm dome — algae and moulds bloom quickly; use clean water and ventilate daily.
Closing Thoughts
Building and sterilising a clean substrate is unglamorous work, but it removes the most preventable cause of germination failure. With a free-draining, low-nutrient mix, a proper 82–90 °C heat treatment, and disciplined hygiene, you give even the most temperamental rare seeds their best possible start. In the next chapters we will match specific mixes to specific species and their germination triggers — but every one of them begins here, with a substrate you can trust.