Why moisture is the make-or-break variable
Of all the environmental levers we control during germination — temperature, light, oxygen, moisture — water is the one that both awakens a seed and, mishandled, kills it fastest. A dry seed is a dormant time capsule; add water and enzymes fire up, stored starches convert to sugars, and the embryo begins to swell. But add too much water and you suffocate that same embryo, because the seed can no longer breathe. The entire art of germination lives in this narrow band: consistently damp, never waterlogged, never bone-dry.
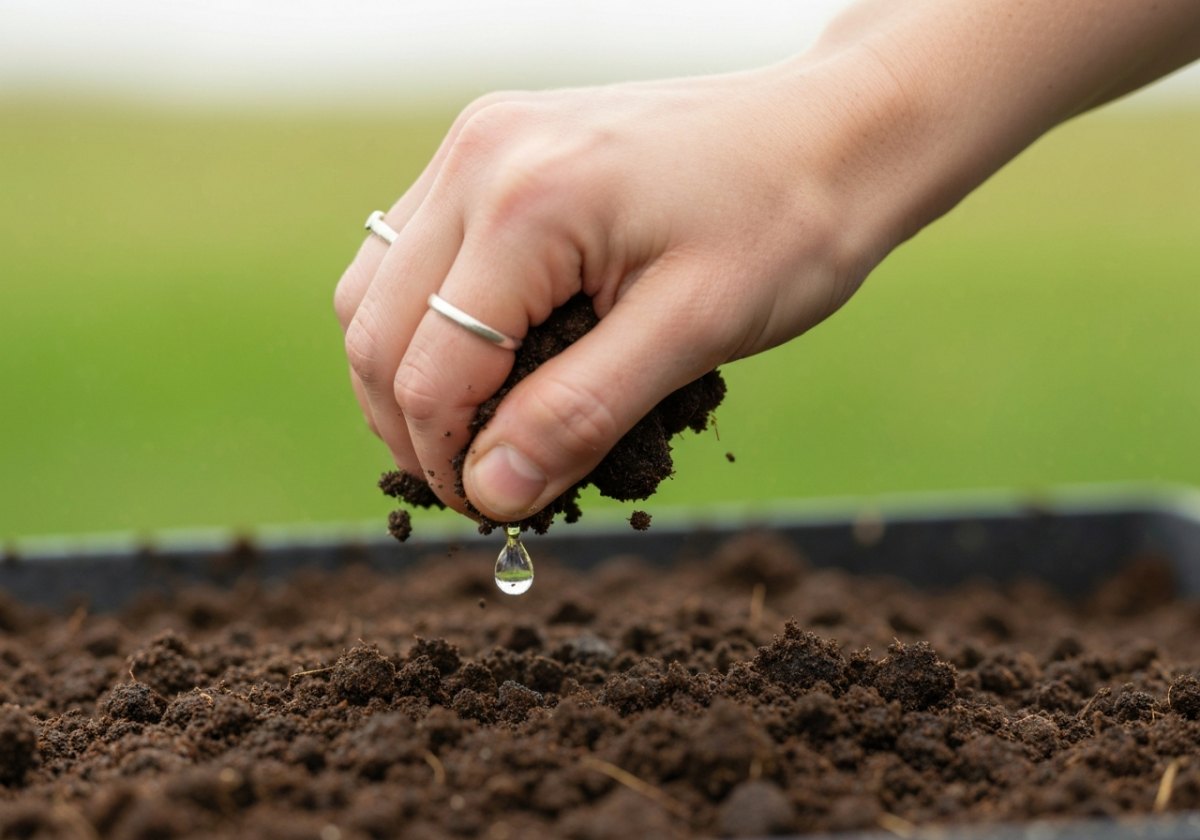
Think of the ideal germination medium like a wrung-out sponge. When you squeeze a handful, it feels cool and moist, maybe a drop or two escapes, but water does not stream out. That tactile memory is worth more than any gadget. Throughout this chapter we will translate that feeling into numbers, tools and repeatable routines.
What a seed actually does with water
Germination begins with imbibition — the physical uptake of water by the dry seed. In the first hours a seed can absorb 30–50% of its dry weight in water; larger seeds like Quercus (oak) or Aesculus (horse chestnut) take up far more and can double in volume over 24–48 hours. This first phase is passive and driven by the dry tissue drawing water in. If moisture disappears during this critical window, the process stalls and the seed may be damaged.
After imbibition comes metabolic activation, then finally the visible emergence of the radicle (the first root). Crucially, the seed needs oxygen throughout. Roots respire, and respiration requires air. This is why a medium that is fully saturated — every pore filled with water — becomes a death trap: the embryo drowns and, worse, anaerobic conditions invite rot.
The three failure modes
Nearly every moisture-related failure falls into one of three categories. Learning to recognise them lets you diagnose problems before they cost you a whole tray of rare seed.
- Drowning: a saturated, airless medium. Seeds go soft, smell sour, and never emerge. Common with heavy garden soil or sealed containers with no air exchange.
- Drought stress: the medium dries out mid-imbibition. The seed absorbs water, begins metabolism, then desiccates. Many species tolerate one dry-out poorly and simply die.
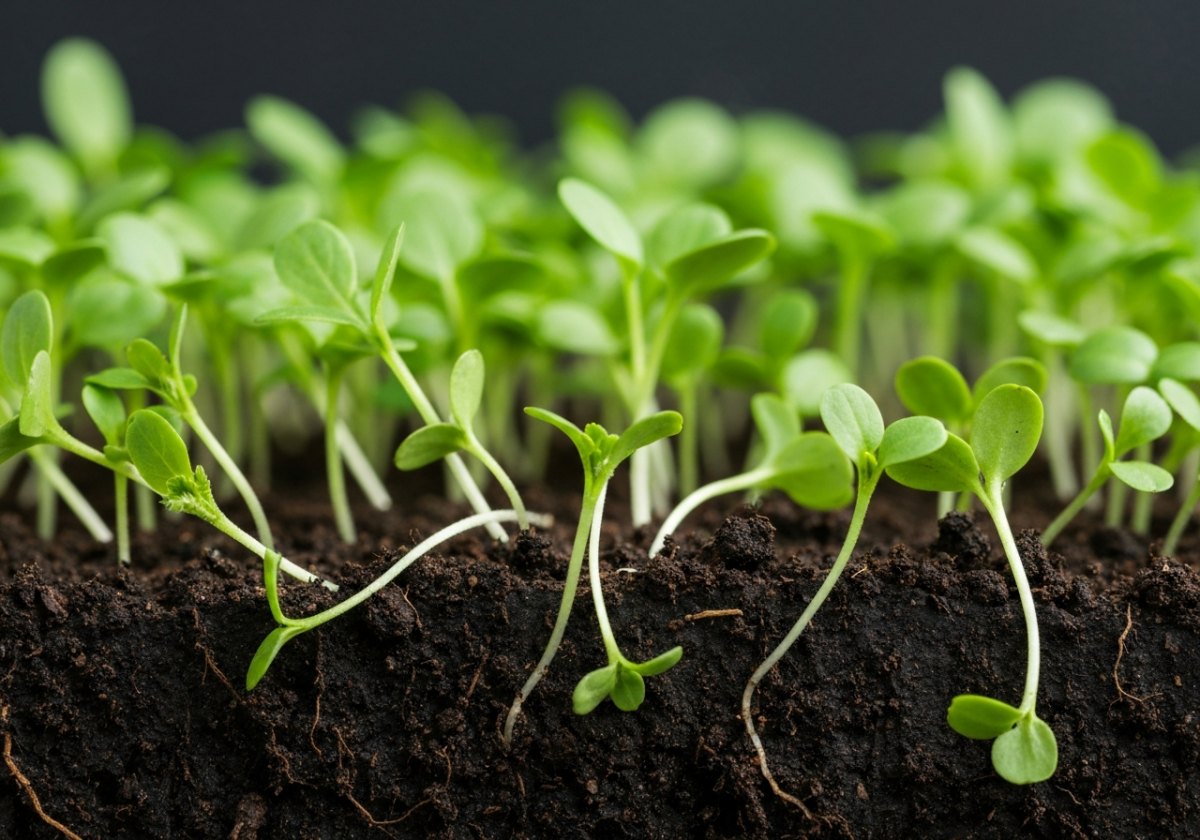
- Damping-off: a fungal disease (Pythium, Rhizoctonia, Fusarium) that thrives in overly wet, stagnant, warm conditions. Seedlings emerge, then topple at the soil line as the stem collapses.
Choosing a medium that manages water for you
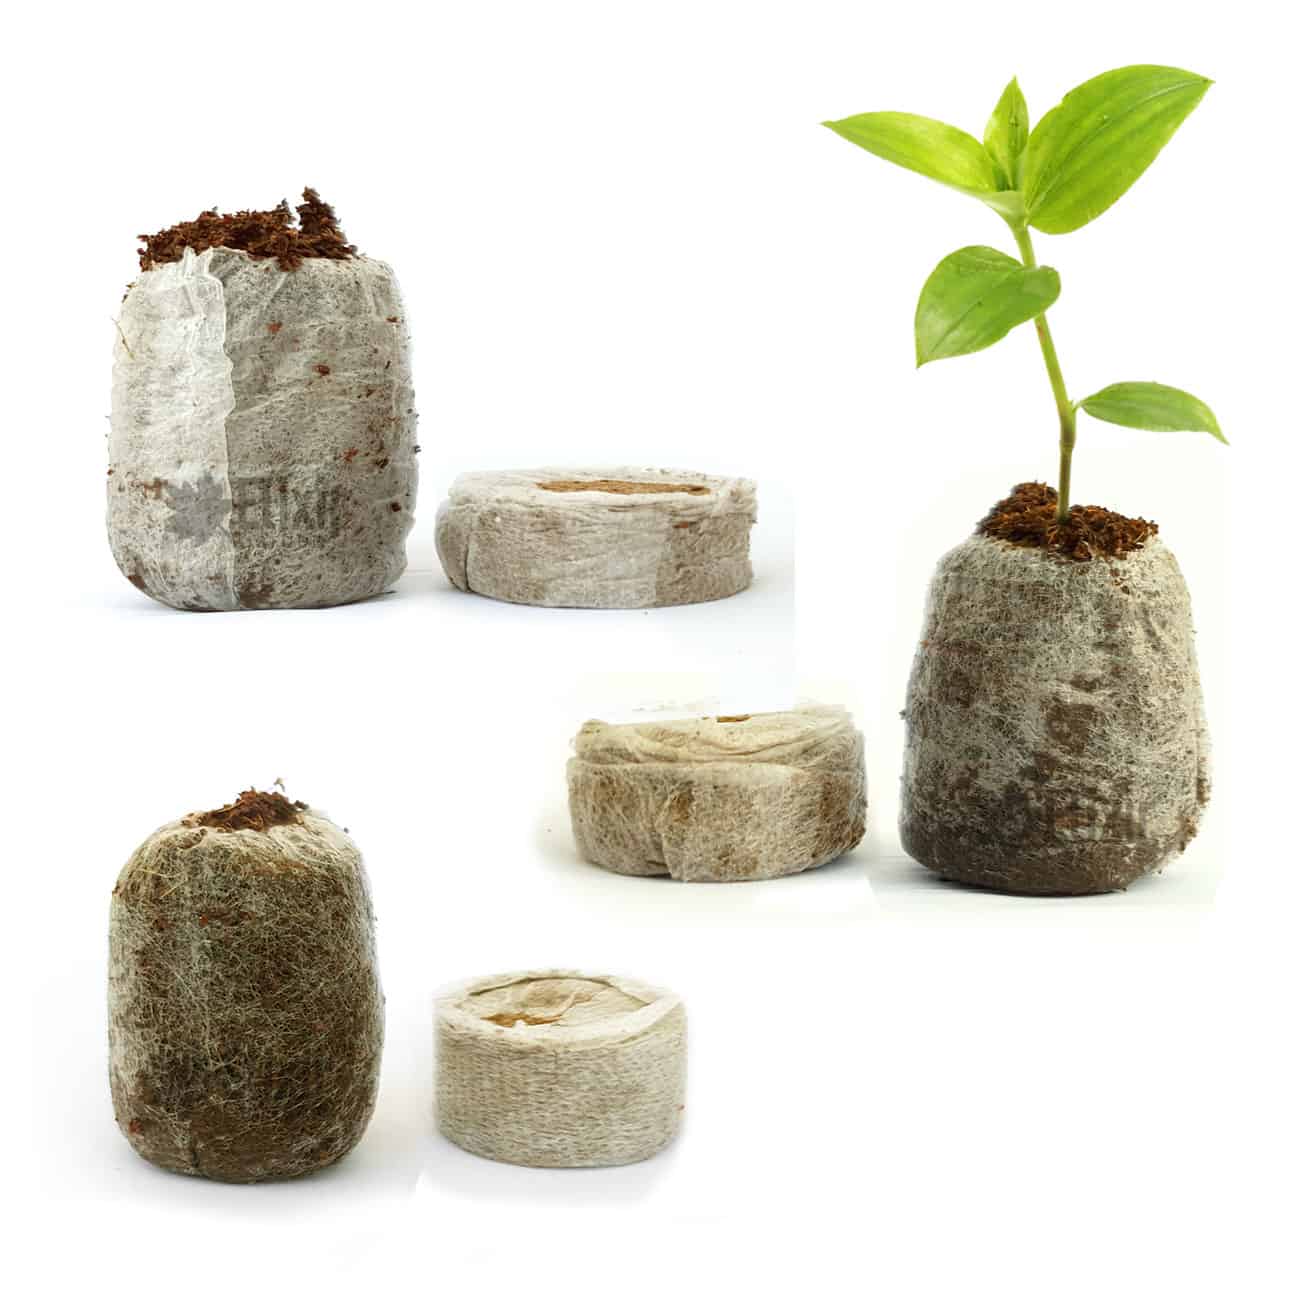
The single easiest way to stay in the damp-but-not-drowning band is to use a medium that drains freely yet holds moisture in its structure. Peat- or coir-based seed composts do this well, and mixing in perlite or vermiculite dramatically improves the air-to-water balance.
- Vermiculite: holds water and nutrients, ideal for surface-sown fine seeds that need constant moisture. Mix 1 part vermiculite to 2 parts seed compost.
- Perlite: holds air, not water — the great anti-drowning insurance. Add 20–30% by volume to open up dense composts.
- Coir (coconut fibre): renewable, holds moisture evenly, and resists going hydrophobic when it dries.
- Sharp sand or fine grit: excellent for larger seeds and for a free-draining top layer that keeps stems dry.
Practical watering technique
How you apply water matters as much as how much. A heavy splash dislodges tiny seeds, compacts the surface and drives air out. Follow these steps for reliable, gentle moisture.
- Pre-moisten the medium before sowing. Wet it, mix, and let it stand 15–30 minutes so moisture distributes evenly — then squeeze-test it.
- Sow, then water from below where possible: stand the tray in 1–2 cm of water and let it wick up until the surface darkens, usually 10–20 minutes. Remove and drain.
- For surface-sown fine seed, use a hand mister to keep the top layer damp without a battering spray.
- Water in the morning so foliage and surface dry through the day, reducing fungal risk.
- Between waterings, let the very top few millimetres dry slightly while the layer below stays moist — this discourages damping-off while protecting the roots.
Humidity domes and closed environments
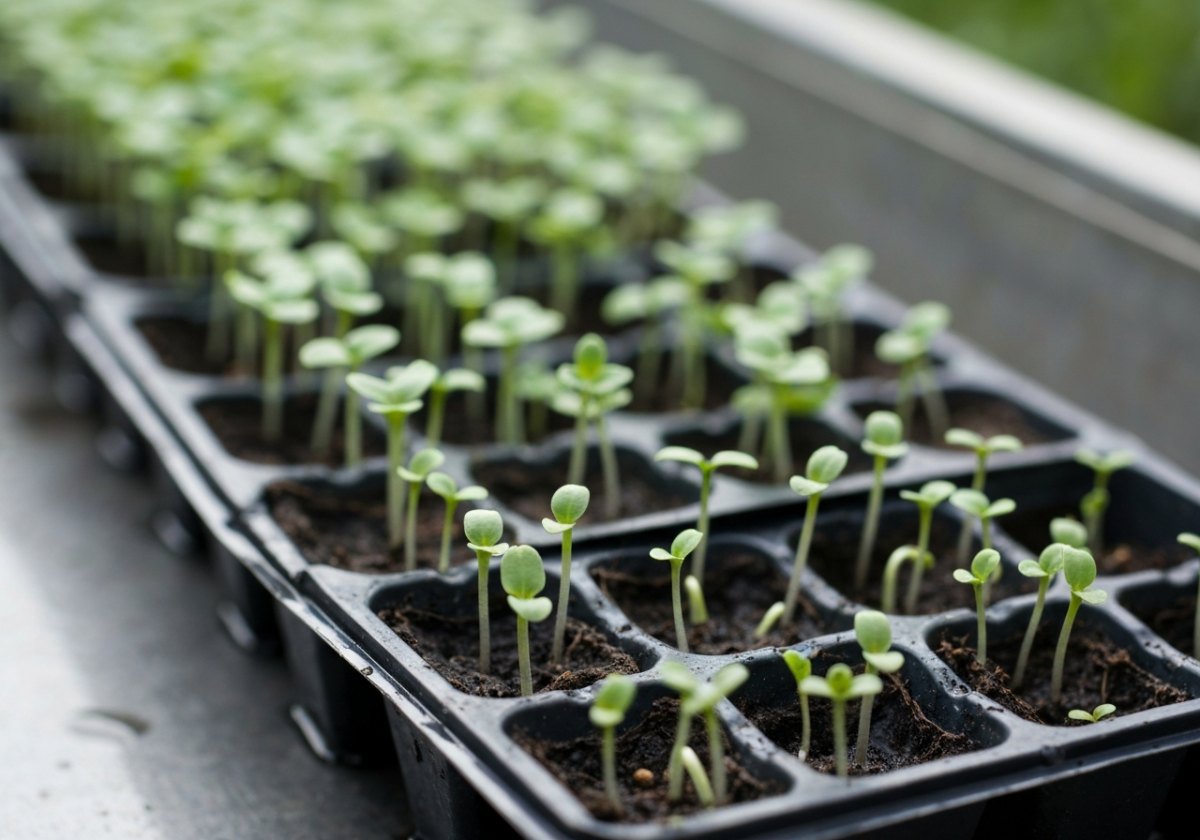
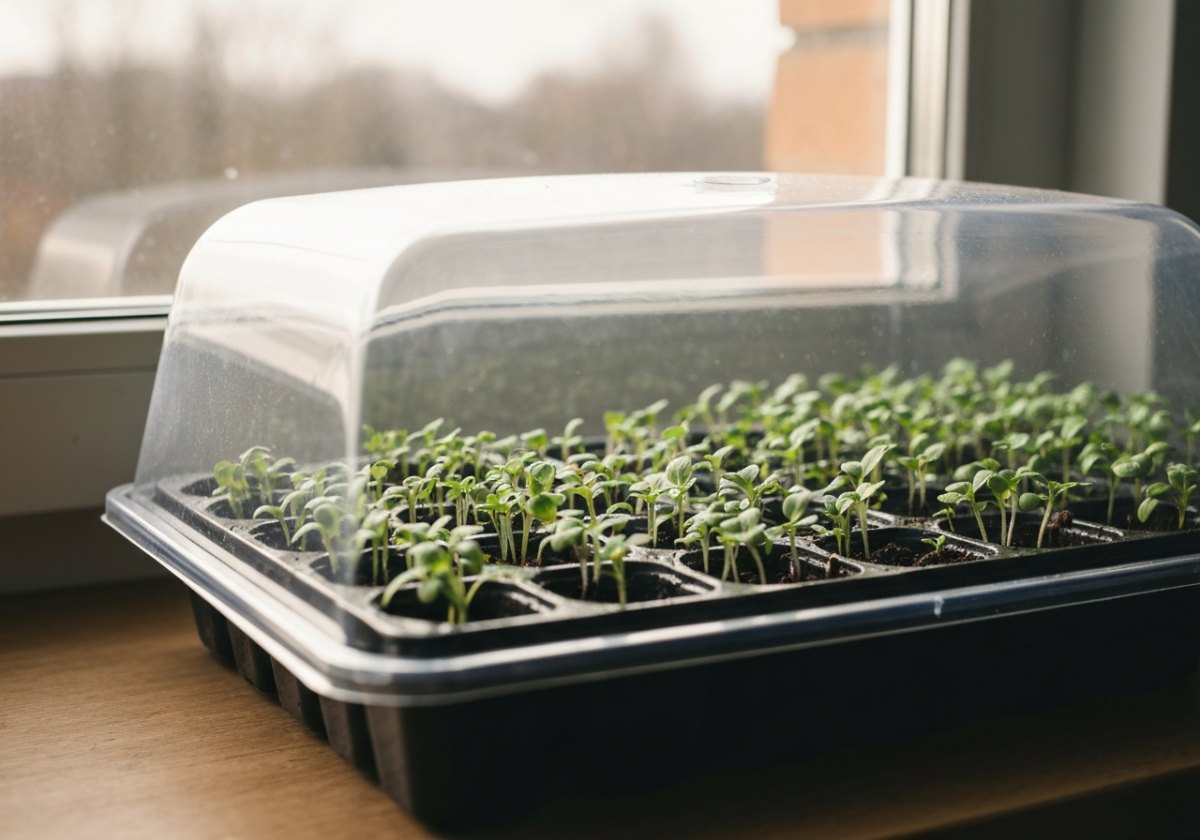
A clear humidity dome or a propagator lid holds moisture around the seed, reducing how often you must water and keeping the surface reliably damp — a real advantage for slow, fussy species. But a sealed dome with no air movement is exactly the stagnant, saturated environment fungi love.
- Vent the dome daily: lift it for a few minutes, or use one with adjustable vents, to exchange air and let excess condensation escape.
- Wipe away heavy condensation dripping from the lid — those drops can splash and spread pathogens.
- Remove the dome gradually once seedlings emerge, over several days, so they harden off rather than wilting in suddenly dry air.
Moisture during cold stratification
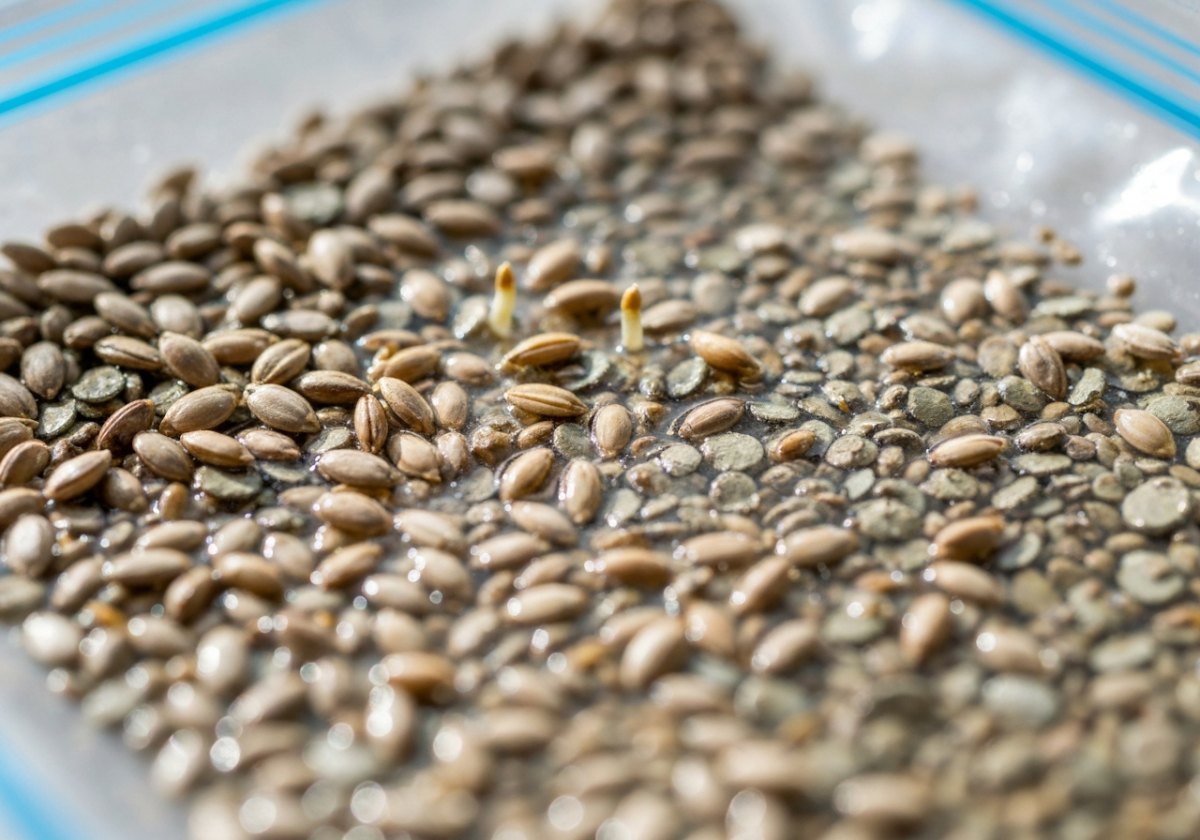
Many temperate rare seeds — Acer, Rosa, many Prunus, alpine perennials — need a moist chilling period to break dormancy. This is where moisture control gets subtle: the seed must be damp for weeks or months in the fridge without going mouldy or drowning.
- Mix seed with barely-moist vermiculite, perlite or coarse sand — squeeze-test until no water drips.
- Seal loosely in a labelled zip bag or lidded pot, leaving some air inside; do not compress it airtight.
- Refrigerate at 1–5 °C for the species-specific period (commonly 6–12 weeks).
- Check every 1–2 weeks: if it looks dry, mist lightly; if you see mould or free water, open to air and reduce moisture.
Reading the signs, day to day
You will develop an instinct, but until then, let your senses guide you. A well-moistened tray has a darker, even surface colour; when it lightens and the top starts to pale and shrink from the container edge, it is time to water. Lift the tray occasionally — a dry tray is noticeably lighter, and this weight cue is one of the most reliable of all. If you ever smell sour or rotten notes, you have gone too wet: increase airflow, reduce watering, and improve drainage immediately.
Conditions vary enormously with each species and setup, so treat every batch as a small experiment: record what you did, watch what happened, and adjust. No two windowsills behave alike.
In short
Moisture is a balance between water and air. Keep the medium consistently damp like a wrung-out sponge, choose an open free-draining mix, water gently and from below, ventilate closed environments, and stay vigilant for the sour smell of drowning and the collapse of damping-off. Master this single variable and you remove the most common cause of germination failure — giving your rare, precious seeds the best possible conditions to wake up and grow.
Water wakes the seed; air keeps it alive. Your job is simply to give it both, at the same time.— Quinta dos Ouriques University